If you live in a Japanese-style room (washitsu), you may have run into this problem: you want a desk to work or study at, but sitting on the tatami floor for long hours hurts your legs. At the same time, putting a big Western-style desk in a small tatami room can make it feel cramped.
So this time, I tried something different: turning the oshiire (the traditional built-in closet found in almost every Japanese room) into a desk, using the depth of the closet itself. Because the closet is recessed into the wall, it doesn’t take up any extra floor space — and when you’re done working, you can just close the sliding doors (fusuma) and the room goes right back to looking like a normal washitsu.
In this article, I’ll walk through exactly how I converted my oshiire into a desk: the materials, the tools, the steps, and how much it cost.
What materials and tools you need to build a desk inside an oshiire
How to attach a desktop, a drawer, and a monitor arm inside the closet
Tips for keeping cables and power cords tidy
A rough idea of the total cost
Before: The Problem With an Empty Oshiire
An oshiire is great for storage, but on its own it isn’t set up to be a workspace. Before I started, there were a few clear problems:
It’s dark inside, so lighting is essential for any kind of work
There’s no shelf or drawer for a monitor or PC accessories
The bare wood inside is rough and unpleasant to touch
The original, empty closet
What I Used
Materials I Bought
Total material cost was around ¥21,000. That included a monitor, which pushed the price up — if you just want the shelf itself, you can do it for around ¥5,000.
Item
Purpose
Approx. Price
Cedar boards (2000×300×15mm ×4, plus a 1820×25×25mm support strip)
Extends power into the closet (I reused one I already had)
¥1,899
Velcro strips
Holds the extension cord’s outlet under the desktop
¥110
Tools Used
Handsaw, drill driver, drill bit set, a wood chisel, a tape measure, a carpenter’s square
The Items I’m Especially Happy With
MAGICRAVEN 15.6″ Portable Monitor (1080P)
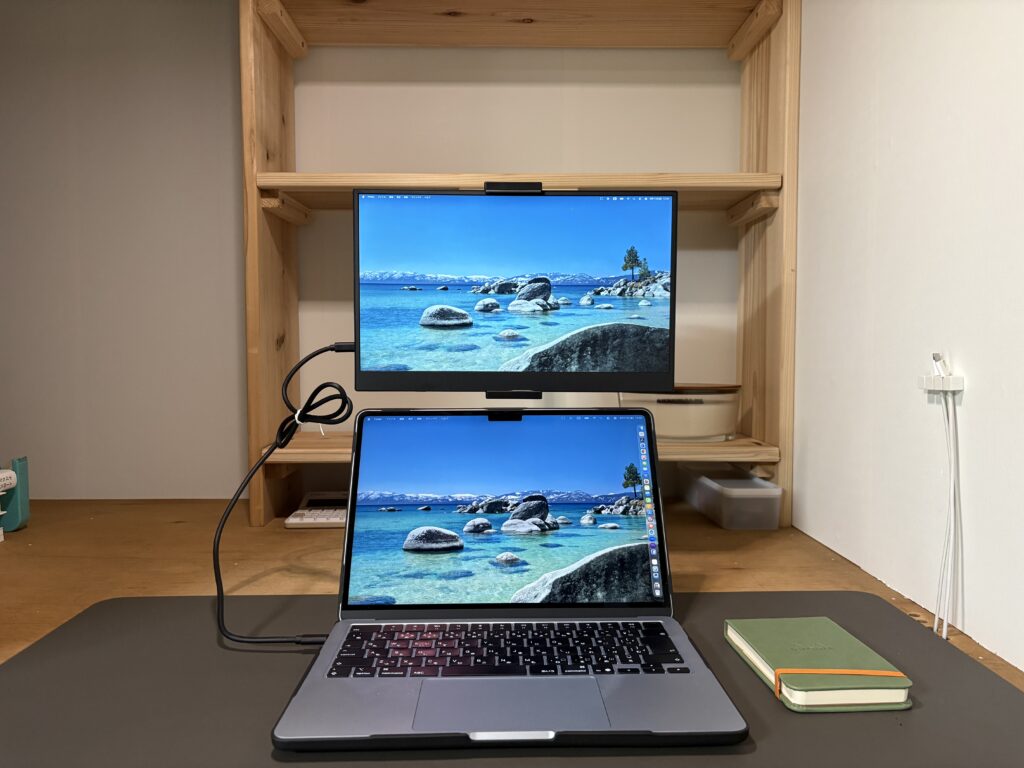
I wanted a second monitor for my laptop and wanted the desk area to stay uncluttered, so I looked for one that could be mounted to a shelf and had a good range of motion. It’s technically a desktop-stand model, but I figured I could bolt the base directly into wood — and it turned out to be my favorite part of this whole project.
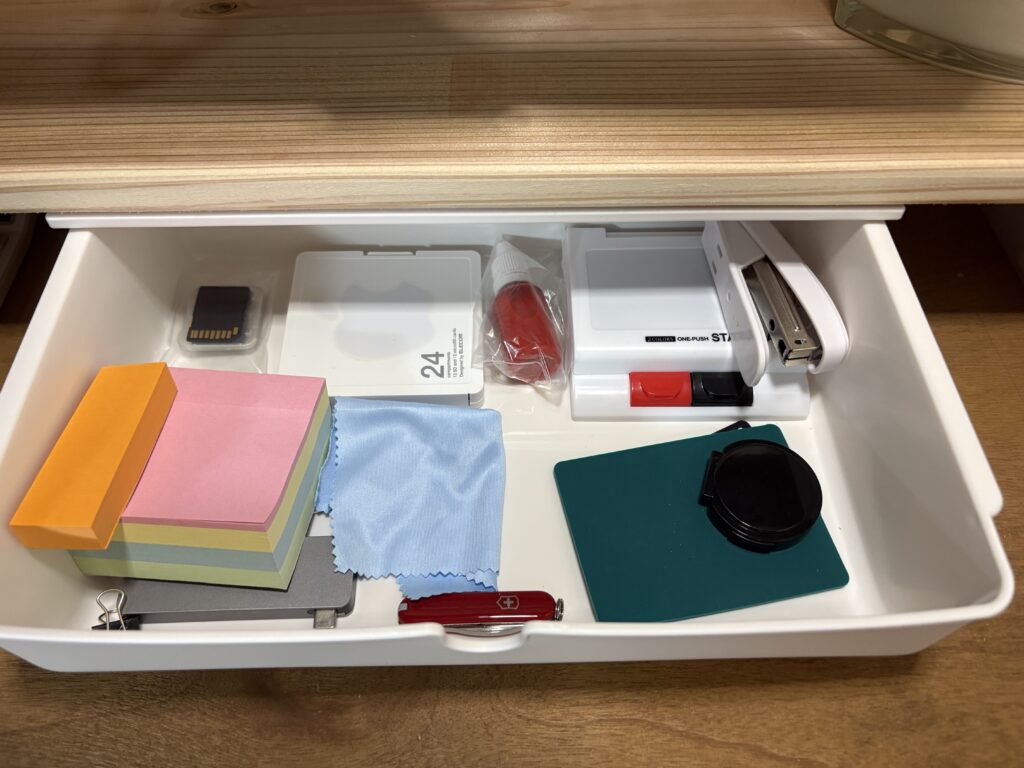
Since I was building the shelf itself from raw wood, I needed a drawer I could add afterward rather than one built into the frame. This one has good depth and height, and it attaches easily with the included double-sided tape.
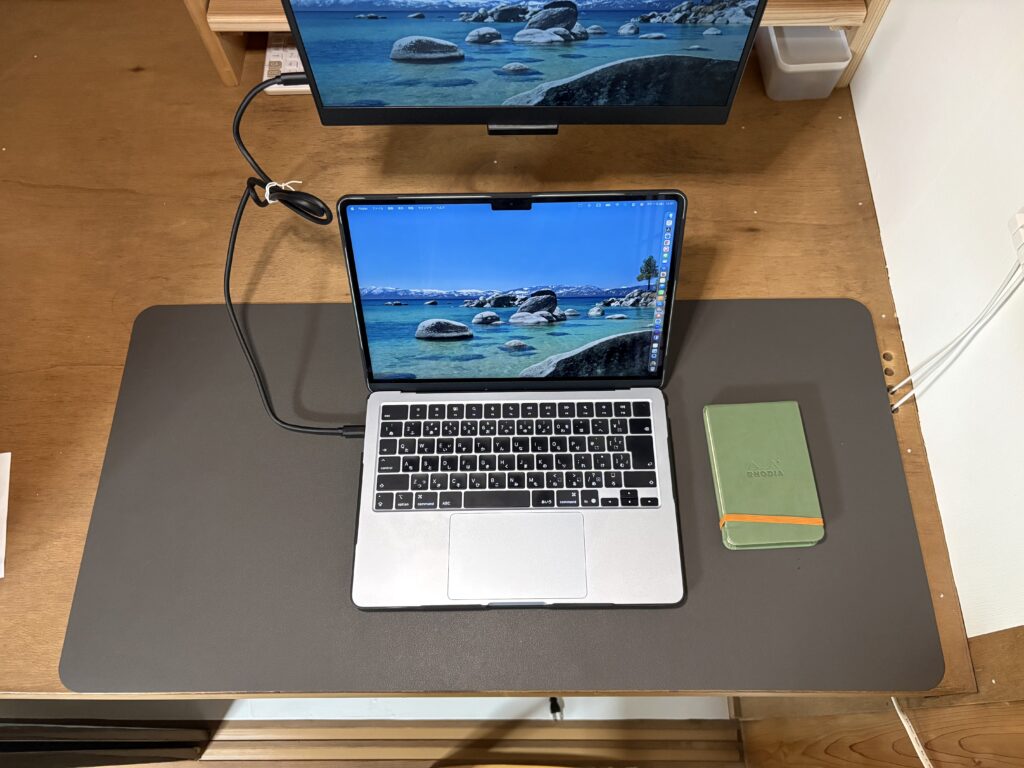
The wood inside an oshiire is rough — it collects dust and can even be uncomfortable to rest your hands on. Adding a desk mat smoothed out the surface and instantly made it look more like a proper desk.
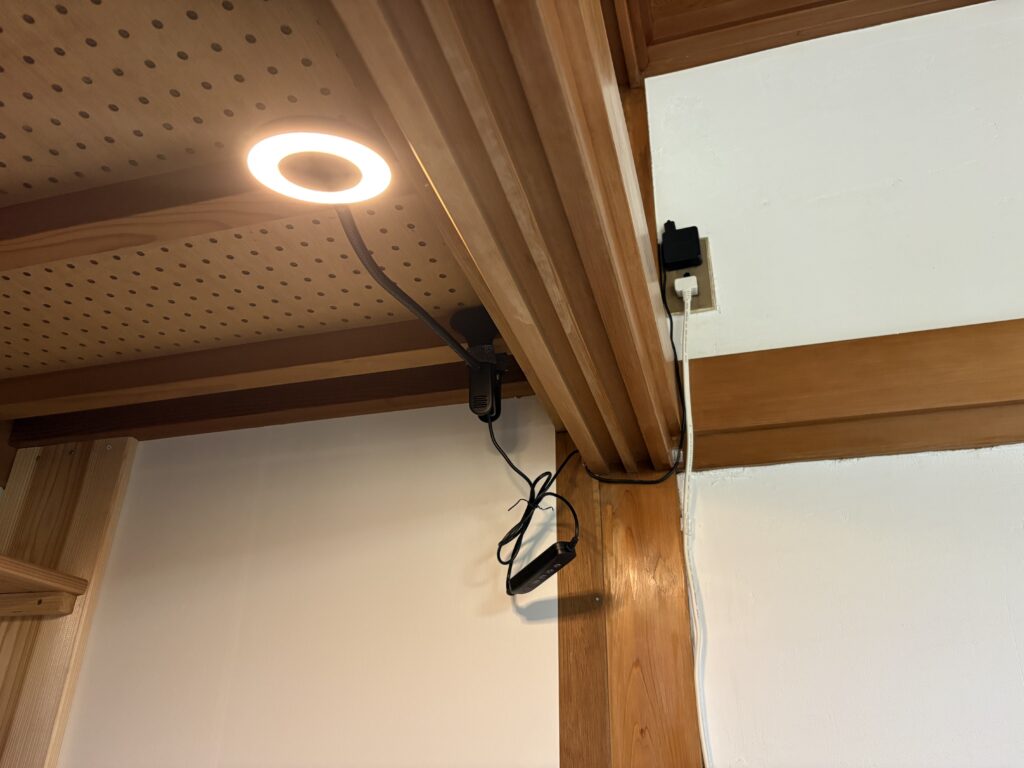
Very little natural light reaches inside a closet, so lighting is a must. I chose a USB-powered one with a long cord and a large clip, so it grips firmly onto the closet’s wooden ledges.
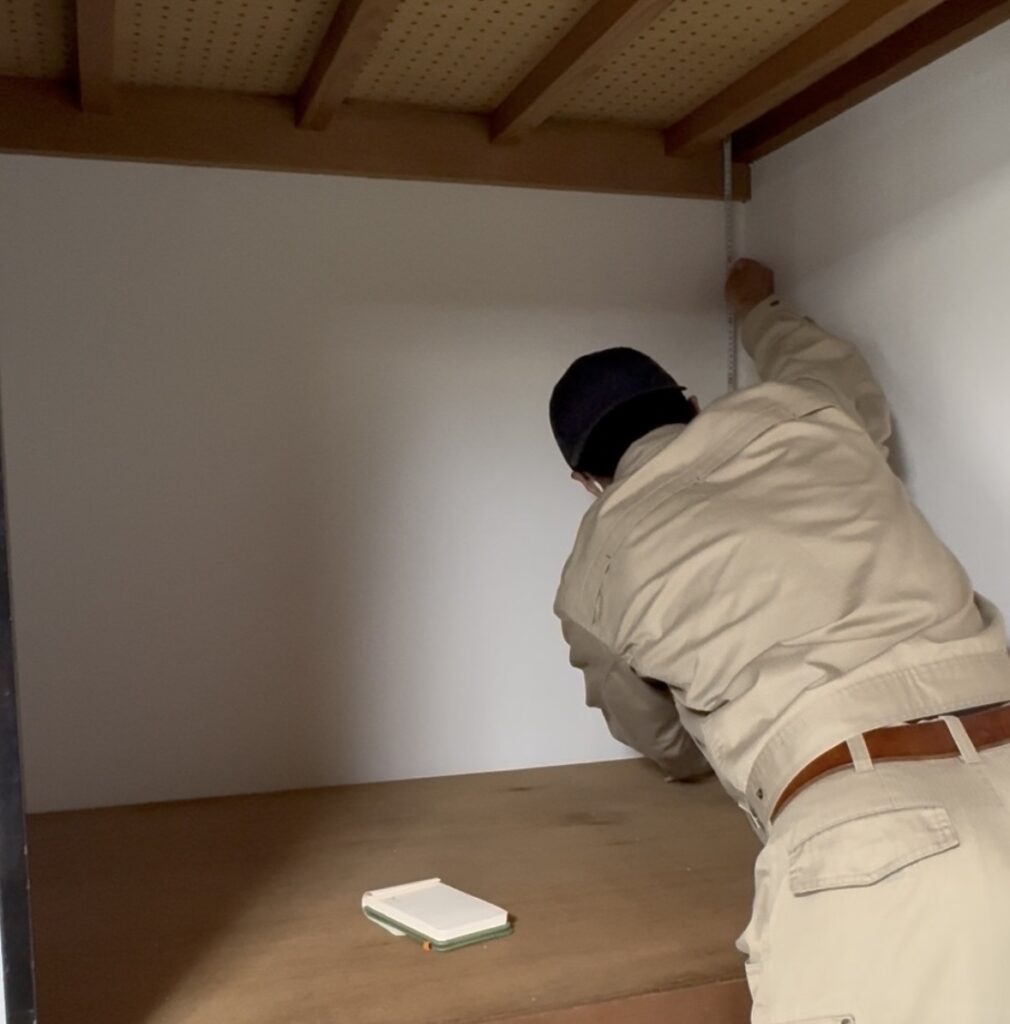
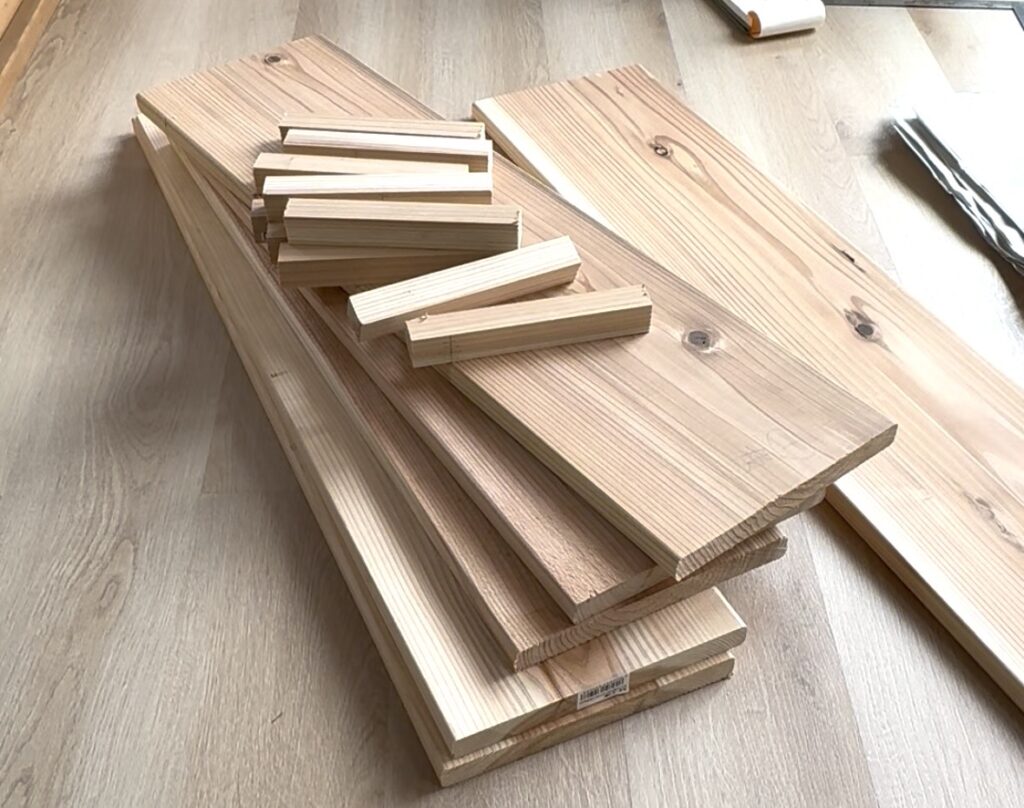
Measure the inside width of the closet on both the left and right sides before buying your wood, then cut boards to size for the side posts and the desktop. Cedar is a good, cheap, easy-to-cut choice for this.
Measure carefullyCutting the boards
2. Install the Support Rails for the Desktop
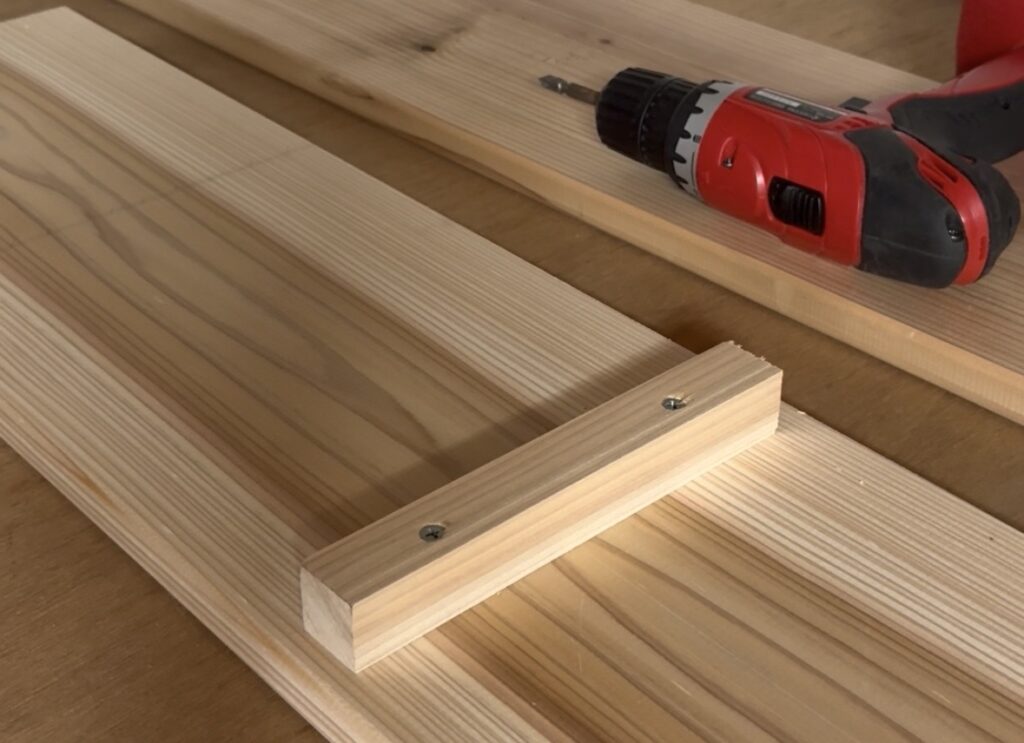
Cut a thin strip of wood (the “support rail”) to match the width of the closet, and screw it into the side posts. Measure carefully so the left and right rails are at exactly the same height.
Screwing the support rail into the post
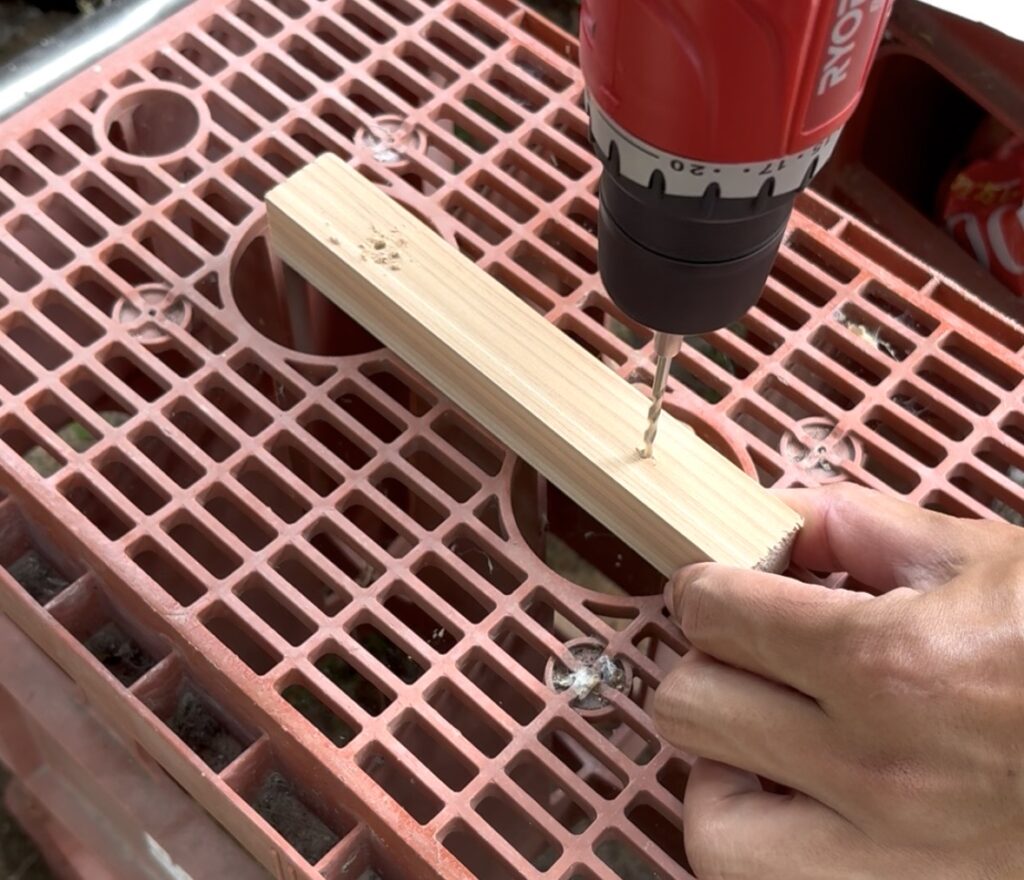
Tip: Driving a screw straight into wood can split it. Drilling a small pilot hole first makes it much less likely to crack.
Drilling a pilot hole before screwing
3. Attach the Side Posts Inside the Closet
Stand the side posts upright and screw them into the closet walls.
Securing the post to the wall
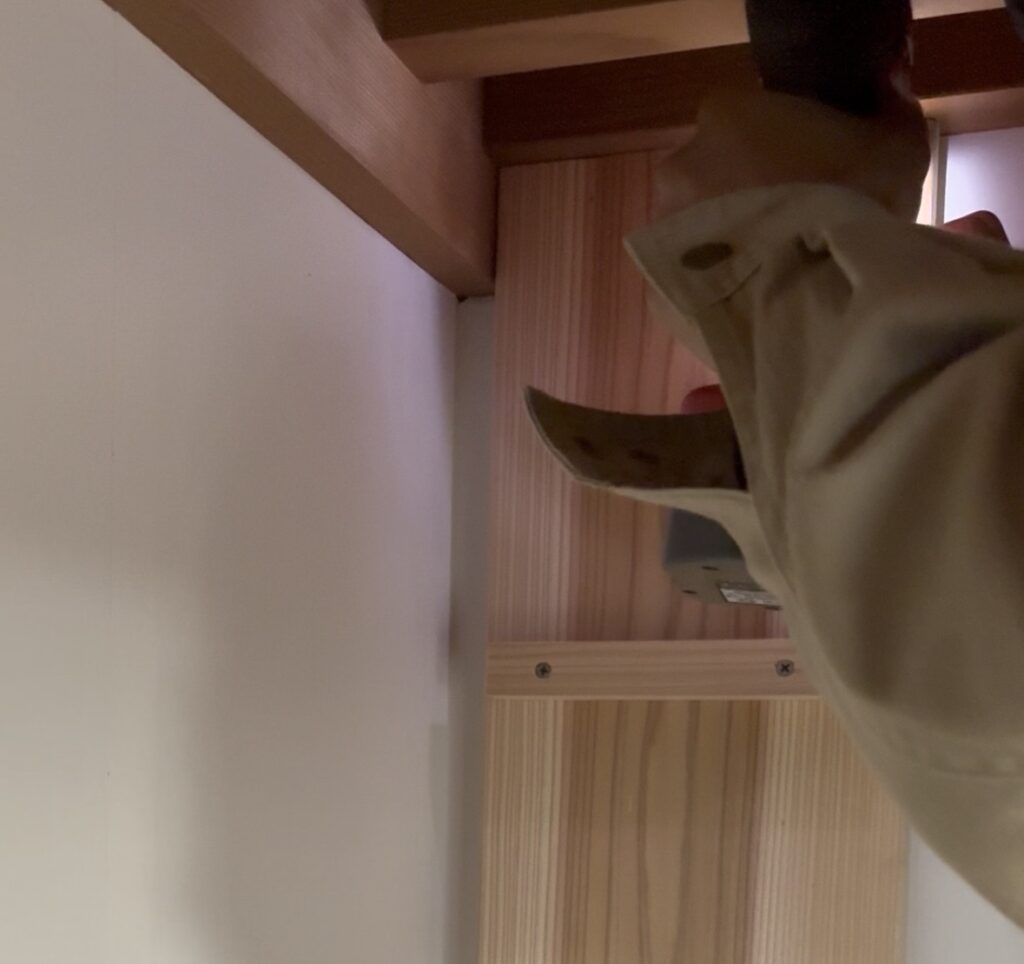
Important: The walls inside an oshiire can be thin. Before driving any screws, find the wooden stud (the solid part behind the wall) rather than relying on the middle of the wall alone — otherwise the desktop may end up wobbly later. You can usually find the stud by pressing or lightly tapping the wall; the solid, firmer-feeling spots are where the studs are.
4. Mount the Desktop, Then Add the Drawer and Monitor Arm
It’s easier to attach the drawer and monitor arm to the desktop board before you install the board itself.
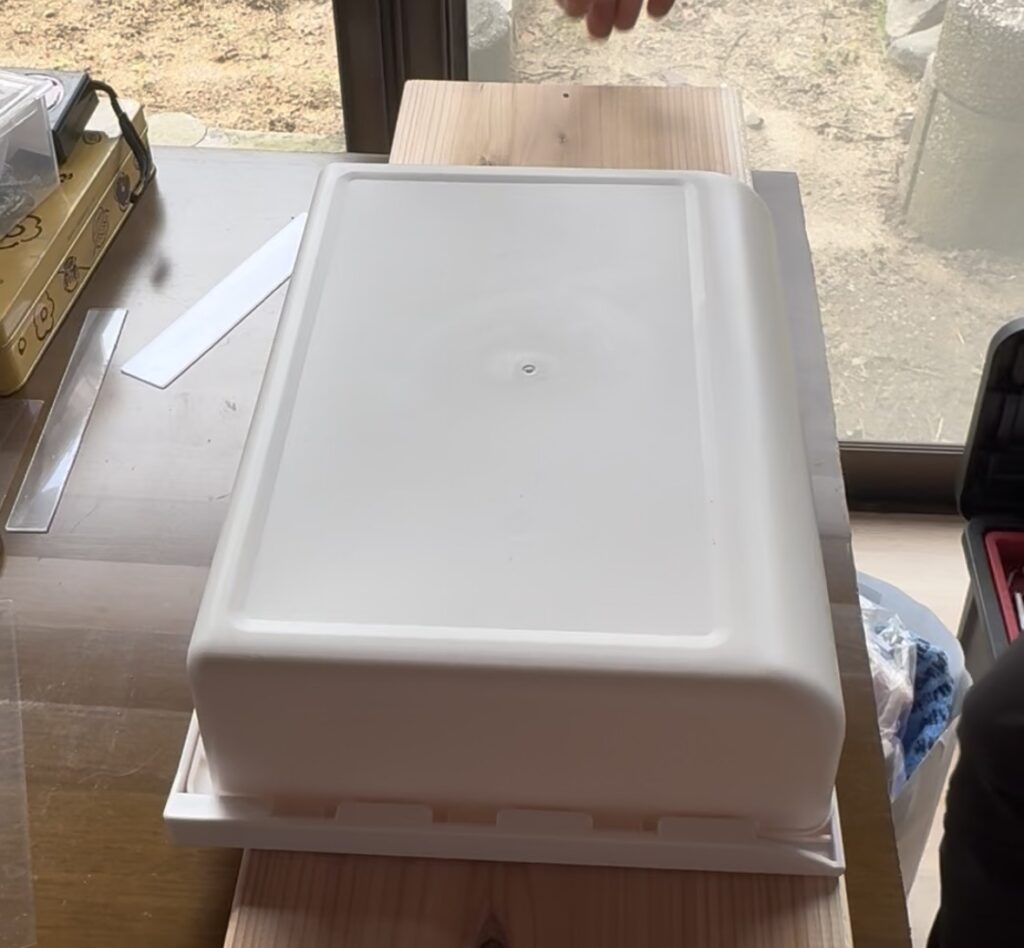
The drawer just sticks on with its built-in double-sided tape.
Sticking the drawer on with tape
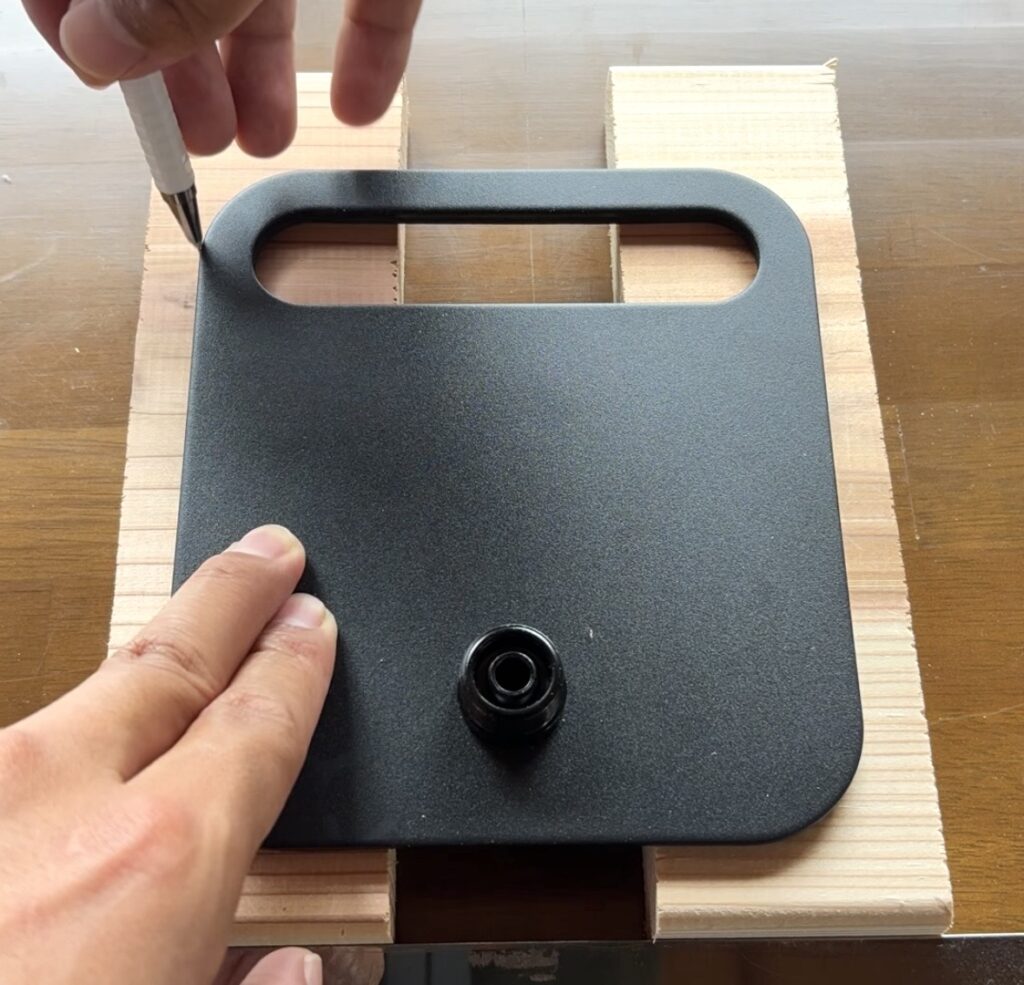
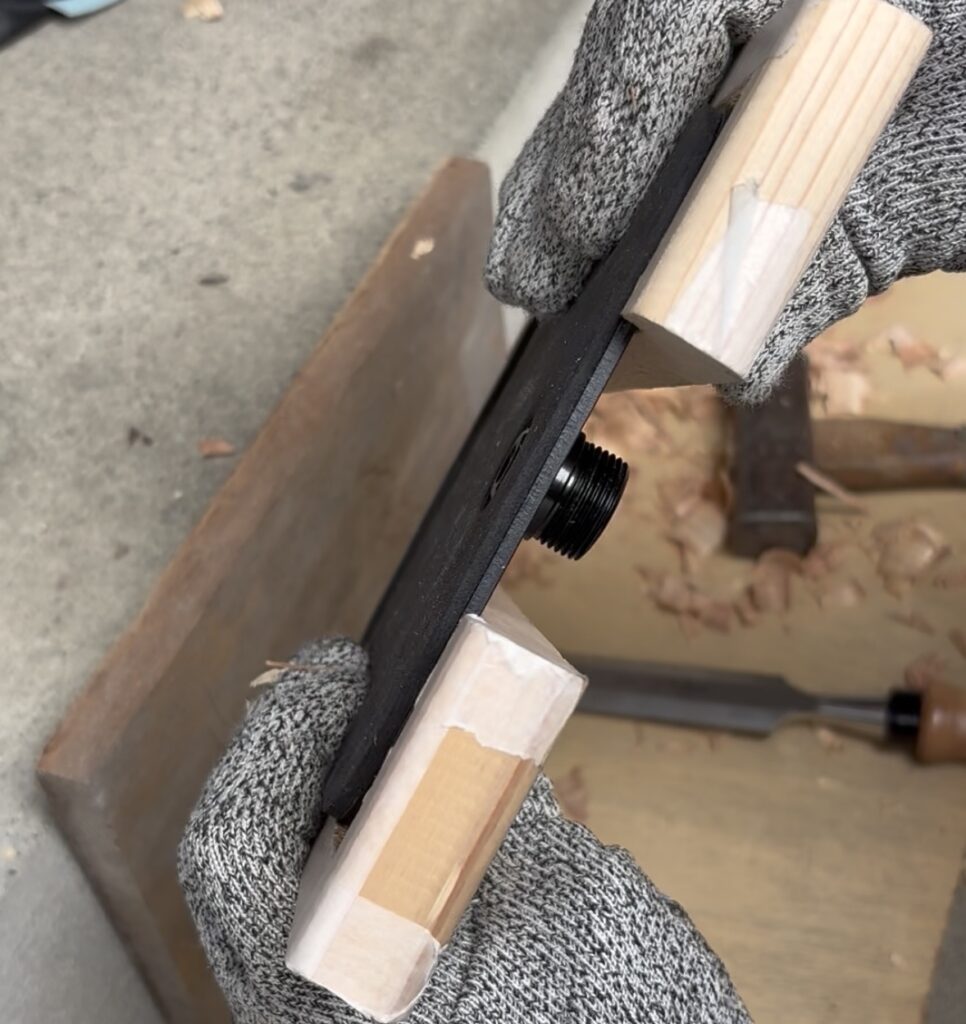
For the monitor arm, I traced the shape of the arm’s base onto a block of wood and carved out a notch with a chisel, then screwed it in place. Measure the thickness and length of the base first and sketch it out.
Tracing the outline onto the wood
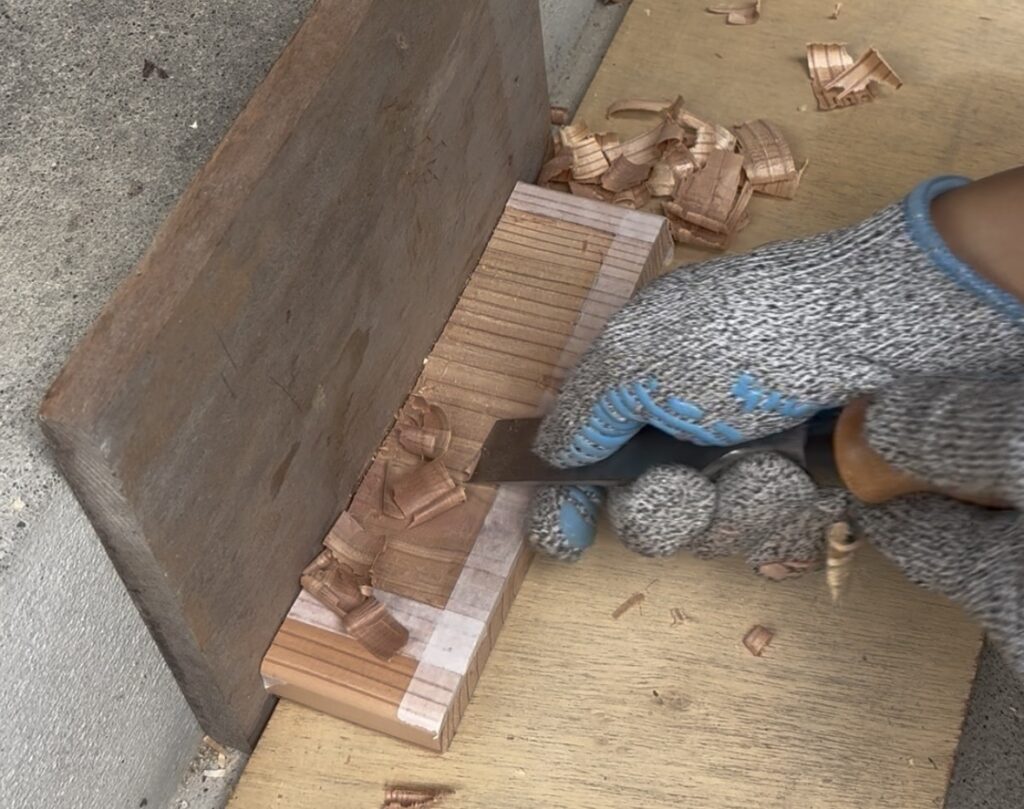
Then carve it out with the chisel. Since the bottom of the arm’s base is cushioned and compresses slightly, I carved the notch a bit shallower than the base’s actual thickness.
Chiseling out the notchCarved just deep enough that the cushion pad slightly overhangs
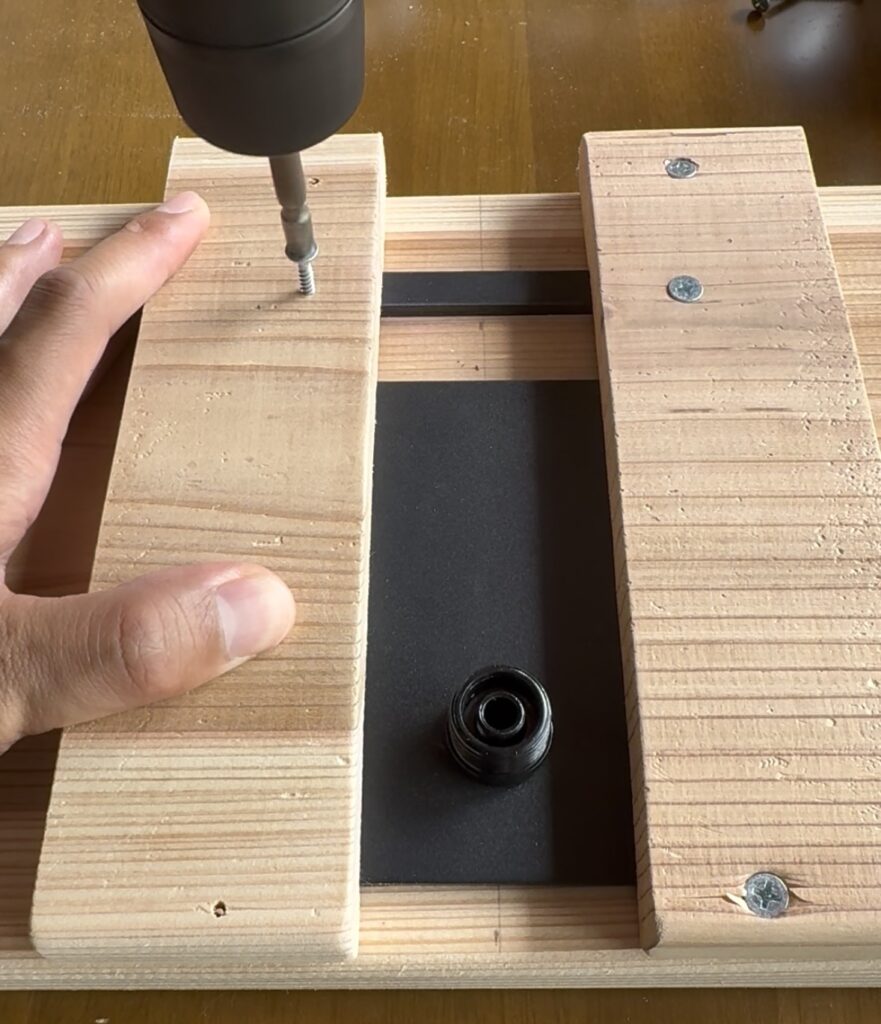
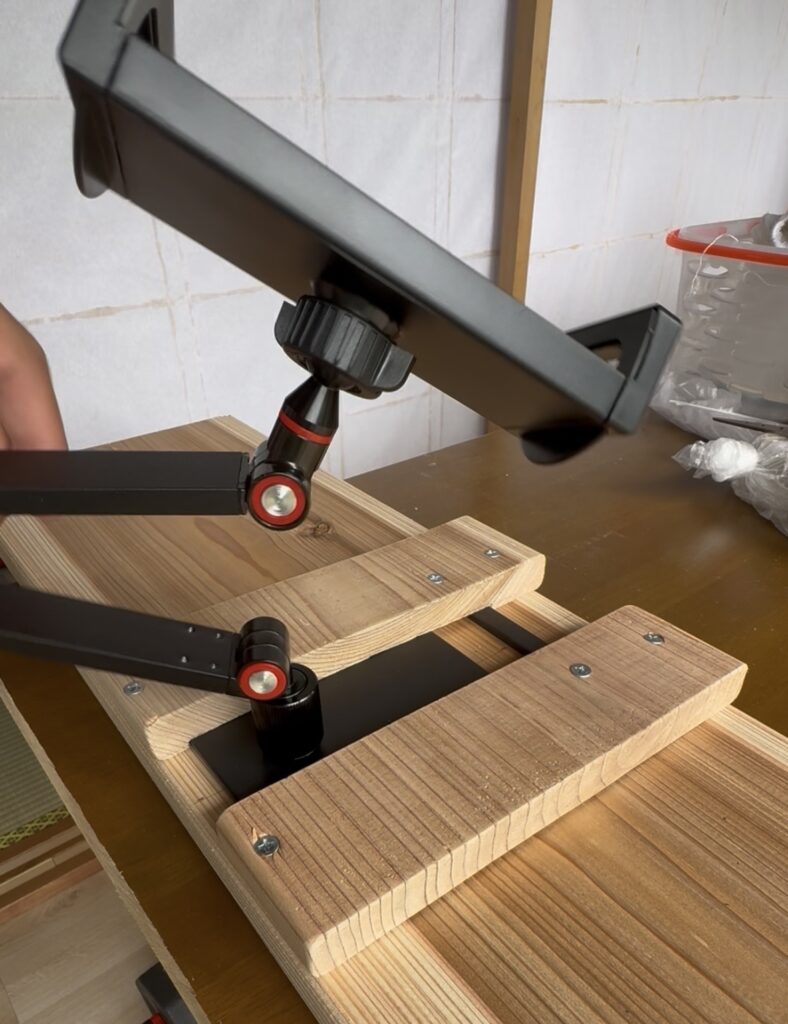
Sandwich the arm’s base between the carved blocks and screw everything together.
Screwing firmly so the base can’t shiftDone
With the drawer and arm mount already attached, screw the whole desktop into place.
Desktop installed
5. Wire the Lighting and Power Outlet
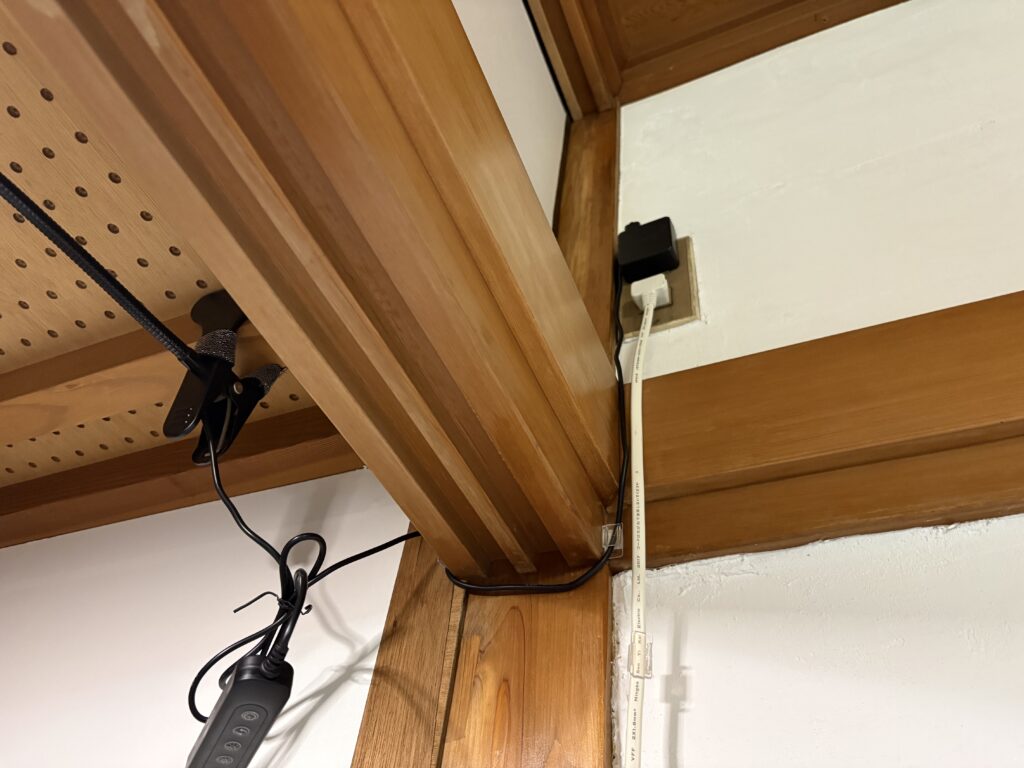
There was a leftover outlet high up beside the closet (originally for an old air conditioner), so I ran a cord from there to power the light. Since the light is a clip type, I clipped it onto one of the wooden ledges inside the closet.
Cable routed down from above
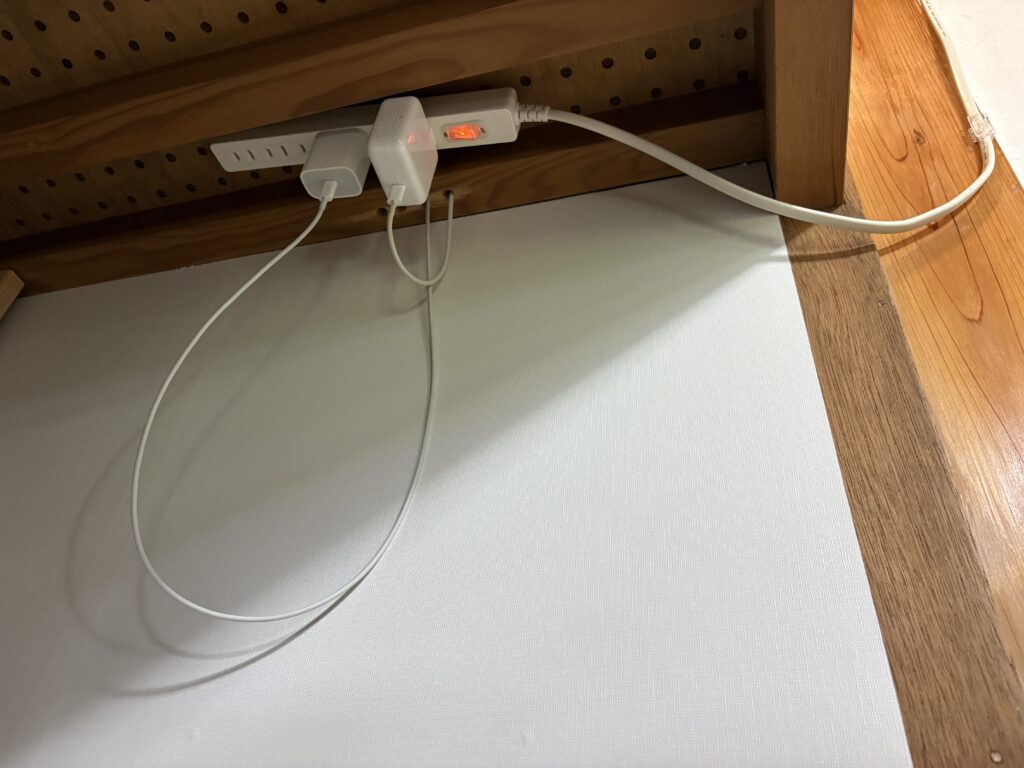
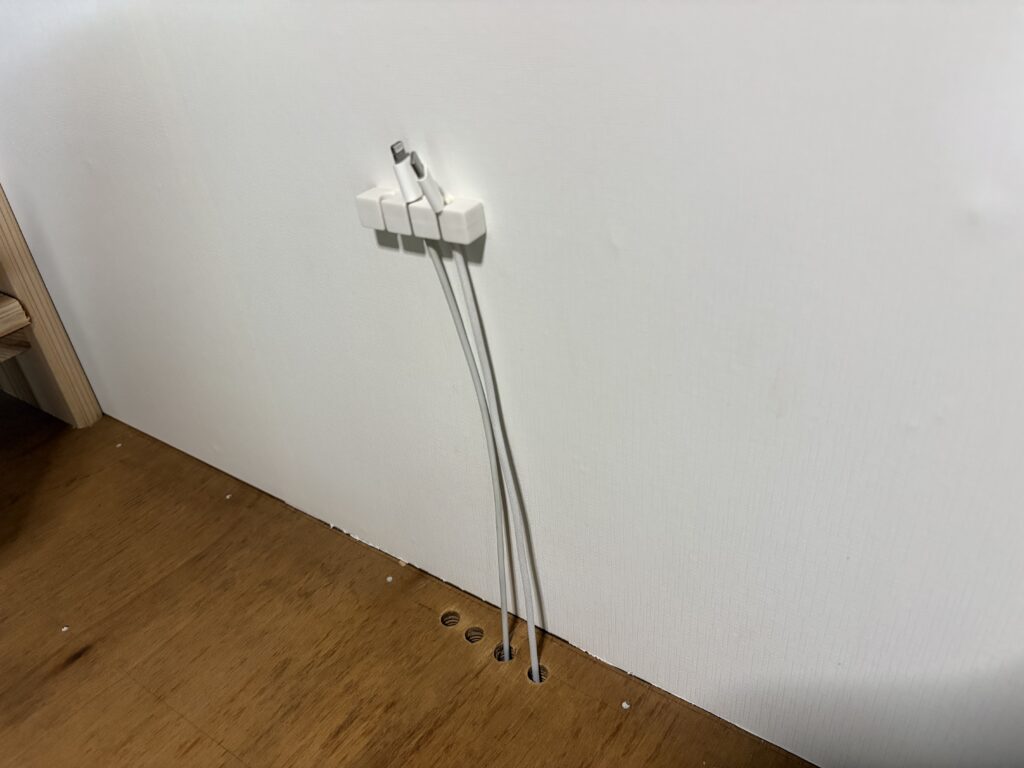
A trick for tidy cables: I drilled a hole through the desktop and used Velcro to attach the extension cord’s socket underneath the desktop. That way only the charger cable pokes up through the hole — the desk surface stays clear of tangled cables. I also stuck some Daiso cable clips to the closet wall to keep the wiring neat.
6. Build a Matching Shelf in the Lower Section
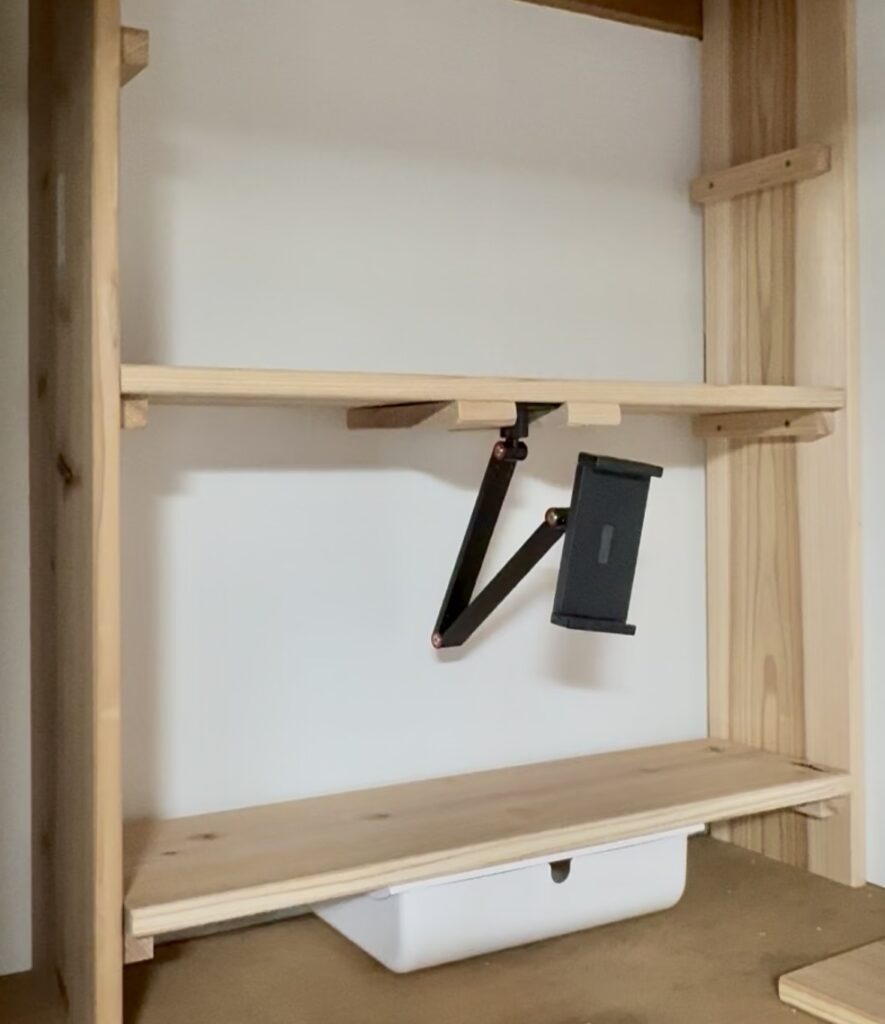
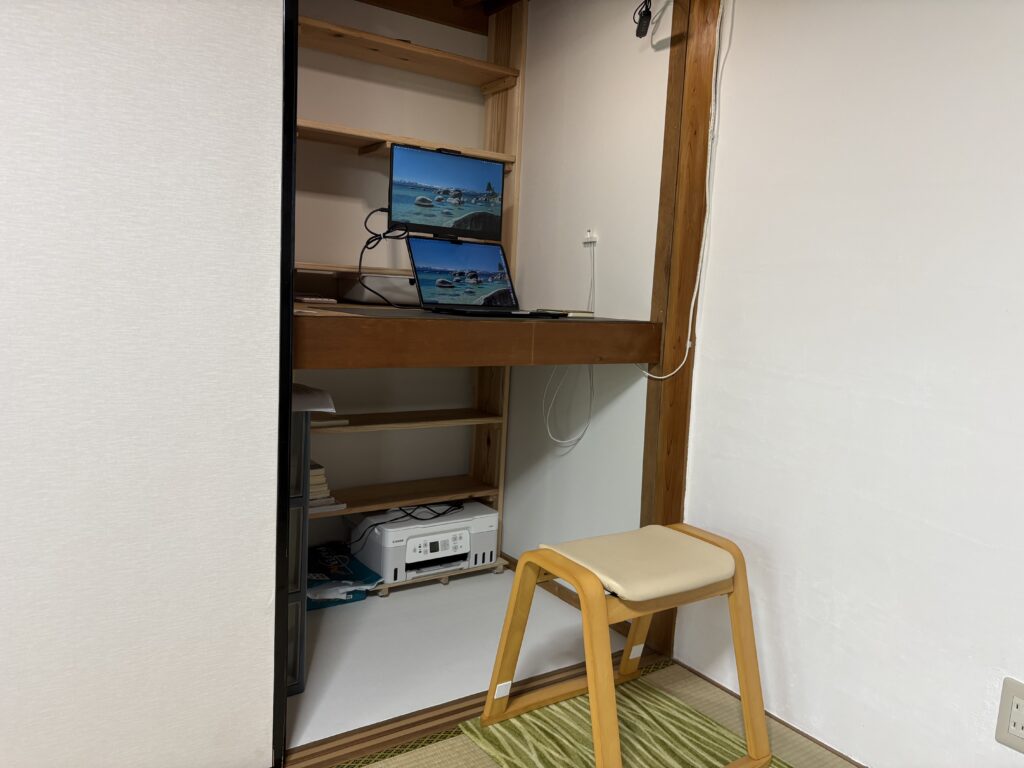
Repeat the same process for the lower half of the closet. It turned out that the middle shelf of the oshiire (the wooden divider between the upper and lower sections) sits at just the right height to use as a desk. I use a backless stool, and when I’m not working, I simply store it inside the closet and close the fusuma doors — the room looks like an ordinary washitsu again.
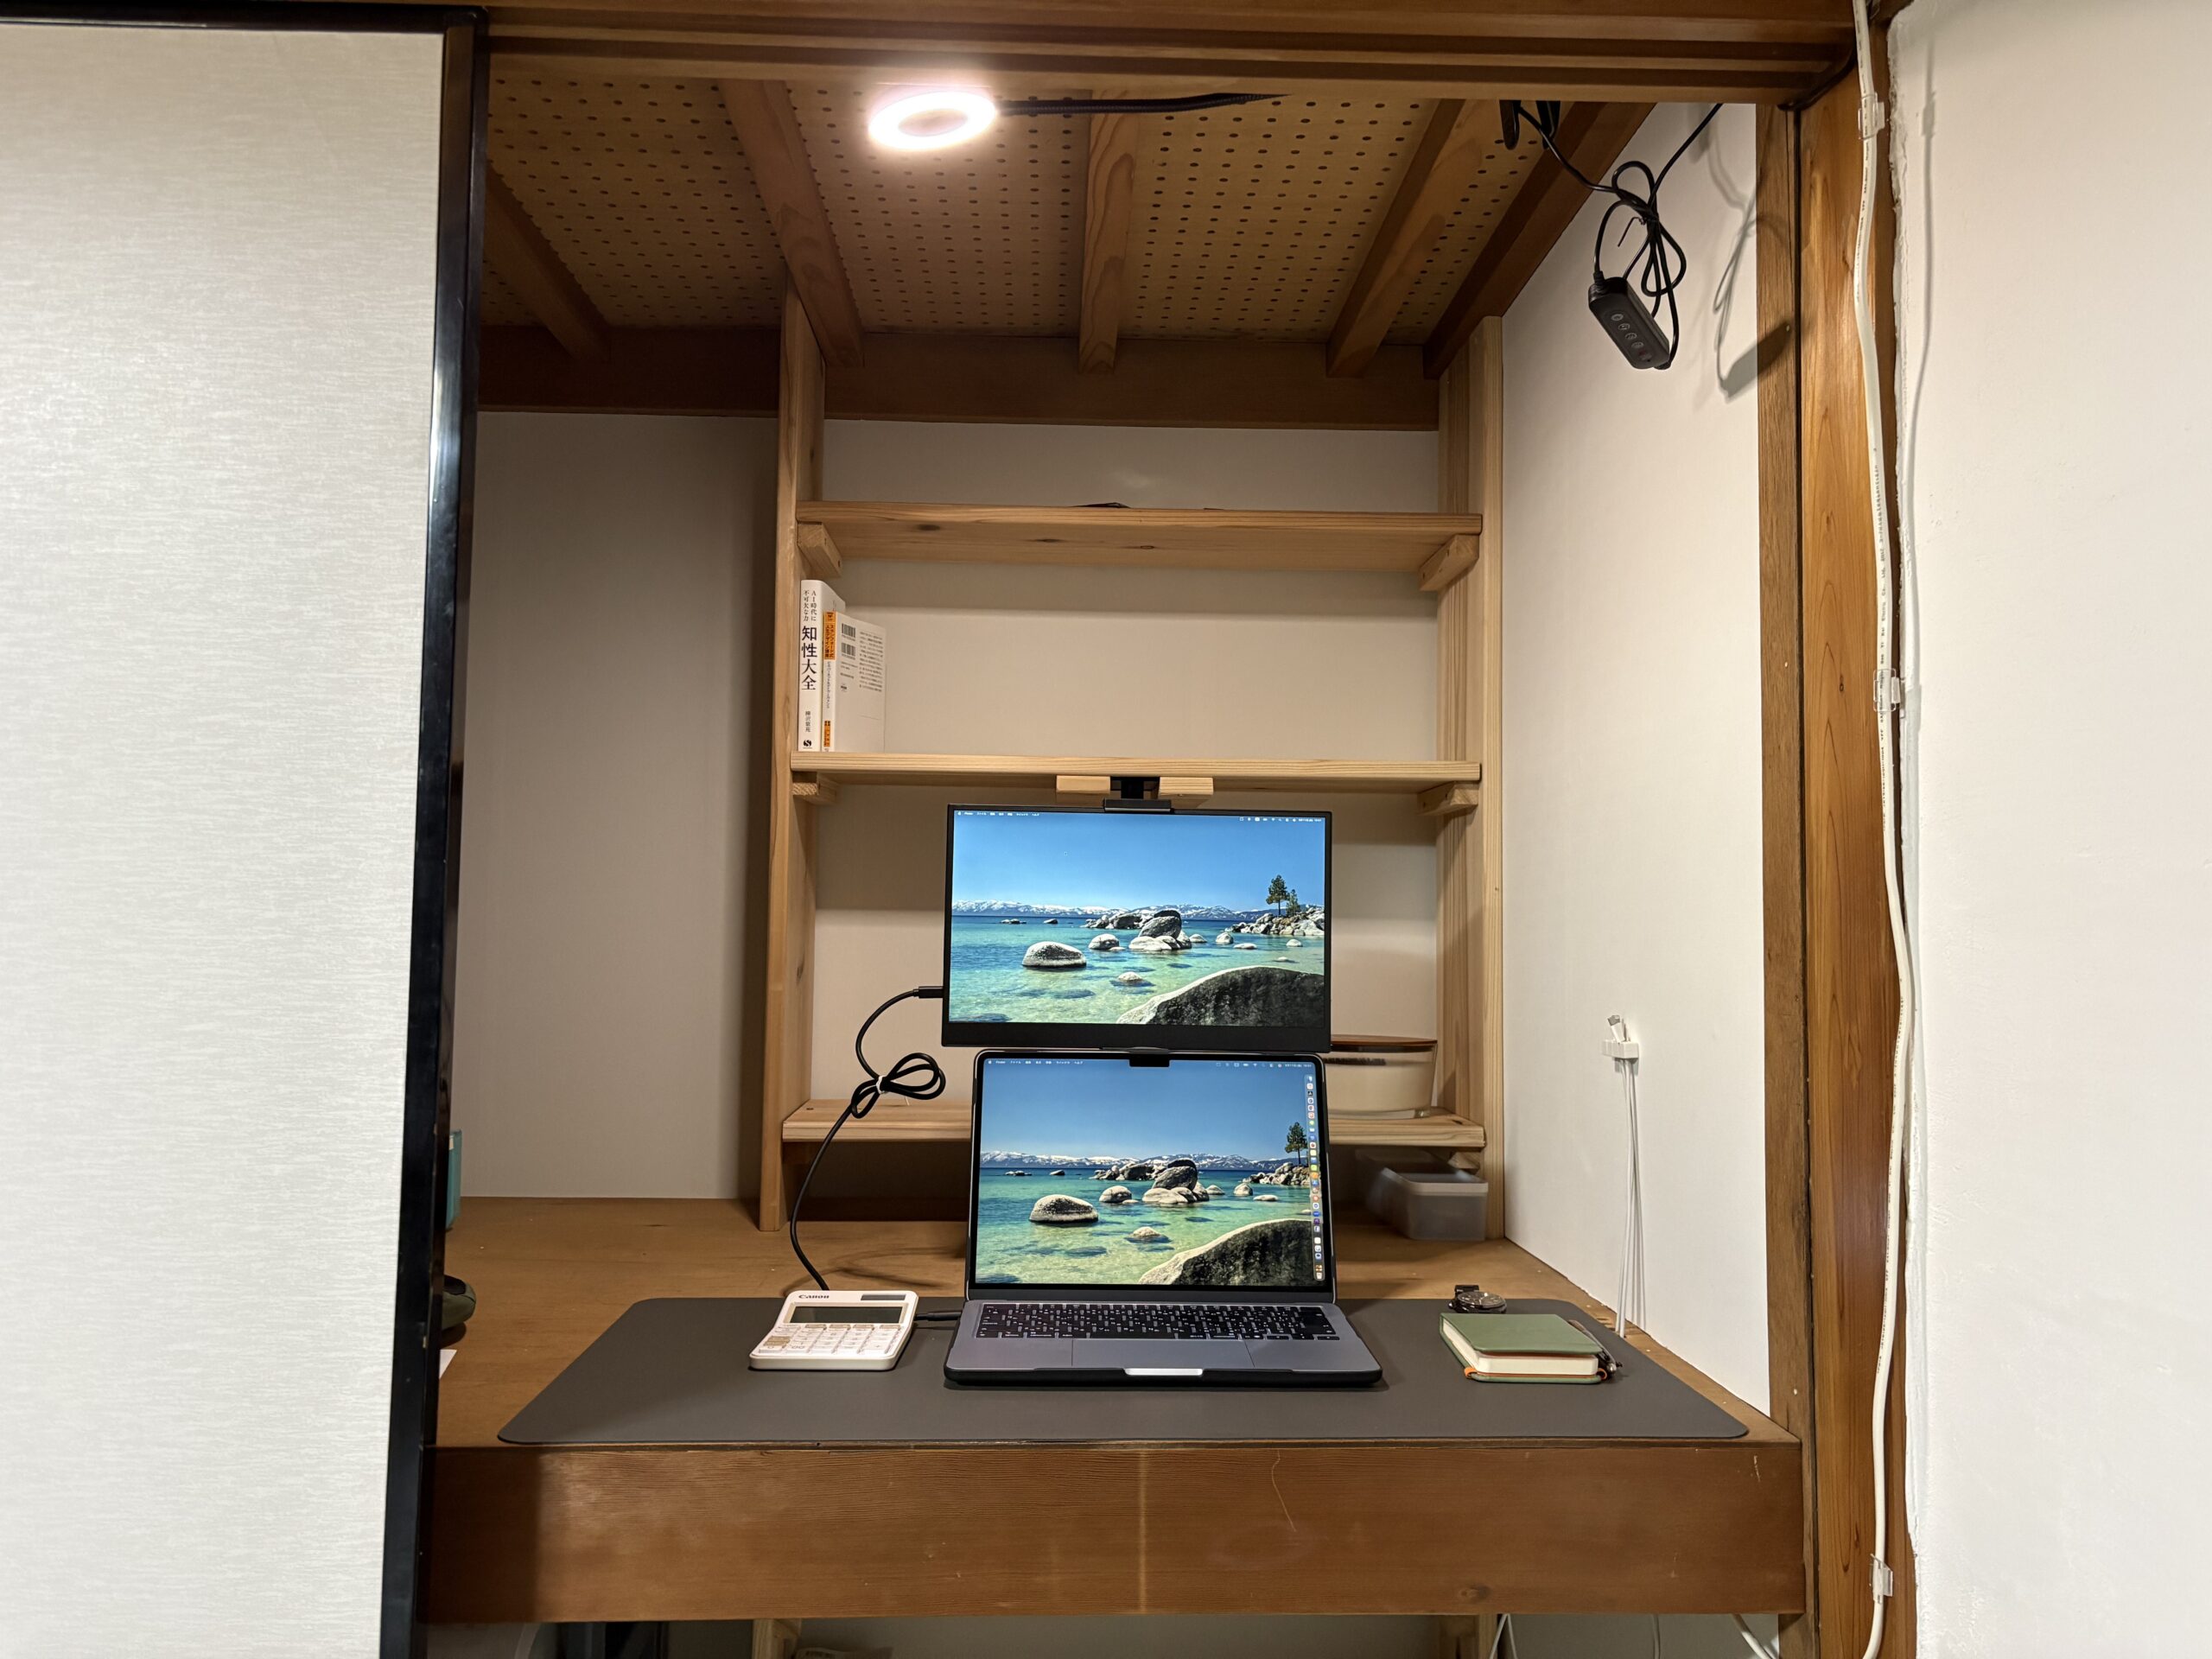
After: The Finished Oshiire Desk
My favorite part is the monitor. Connecting it to my laptop by cable gives me a dual-monitor setup, and the arm has a wide range of motion so I can adjust it to any angle I like. When I’m not using it, I just fold the arm down and it takes up almost no space.
The wooden shelf holds plenty of books, papers, and small decor items — and since I built it myself, I can always modify it later. That’s one of the best things about doing it as a DIY project.
Because the closet is so deep, this setup gives you a surprisingly large amount of usable desk space.
Wrap-Up
By using the depth and height of an oshiire closet, you can create a real work-from-home desk space without giving up any floor area. Ready-made furniture can never fit an oshiire’s odd dimensions perfectly — but with DIY, you can adjust everything exactly to fit.
You can find the full list of products I used for this build via the link below.