▶︎日本語で読む
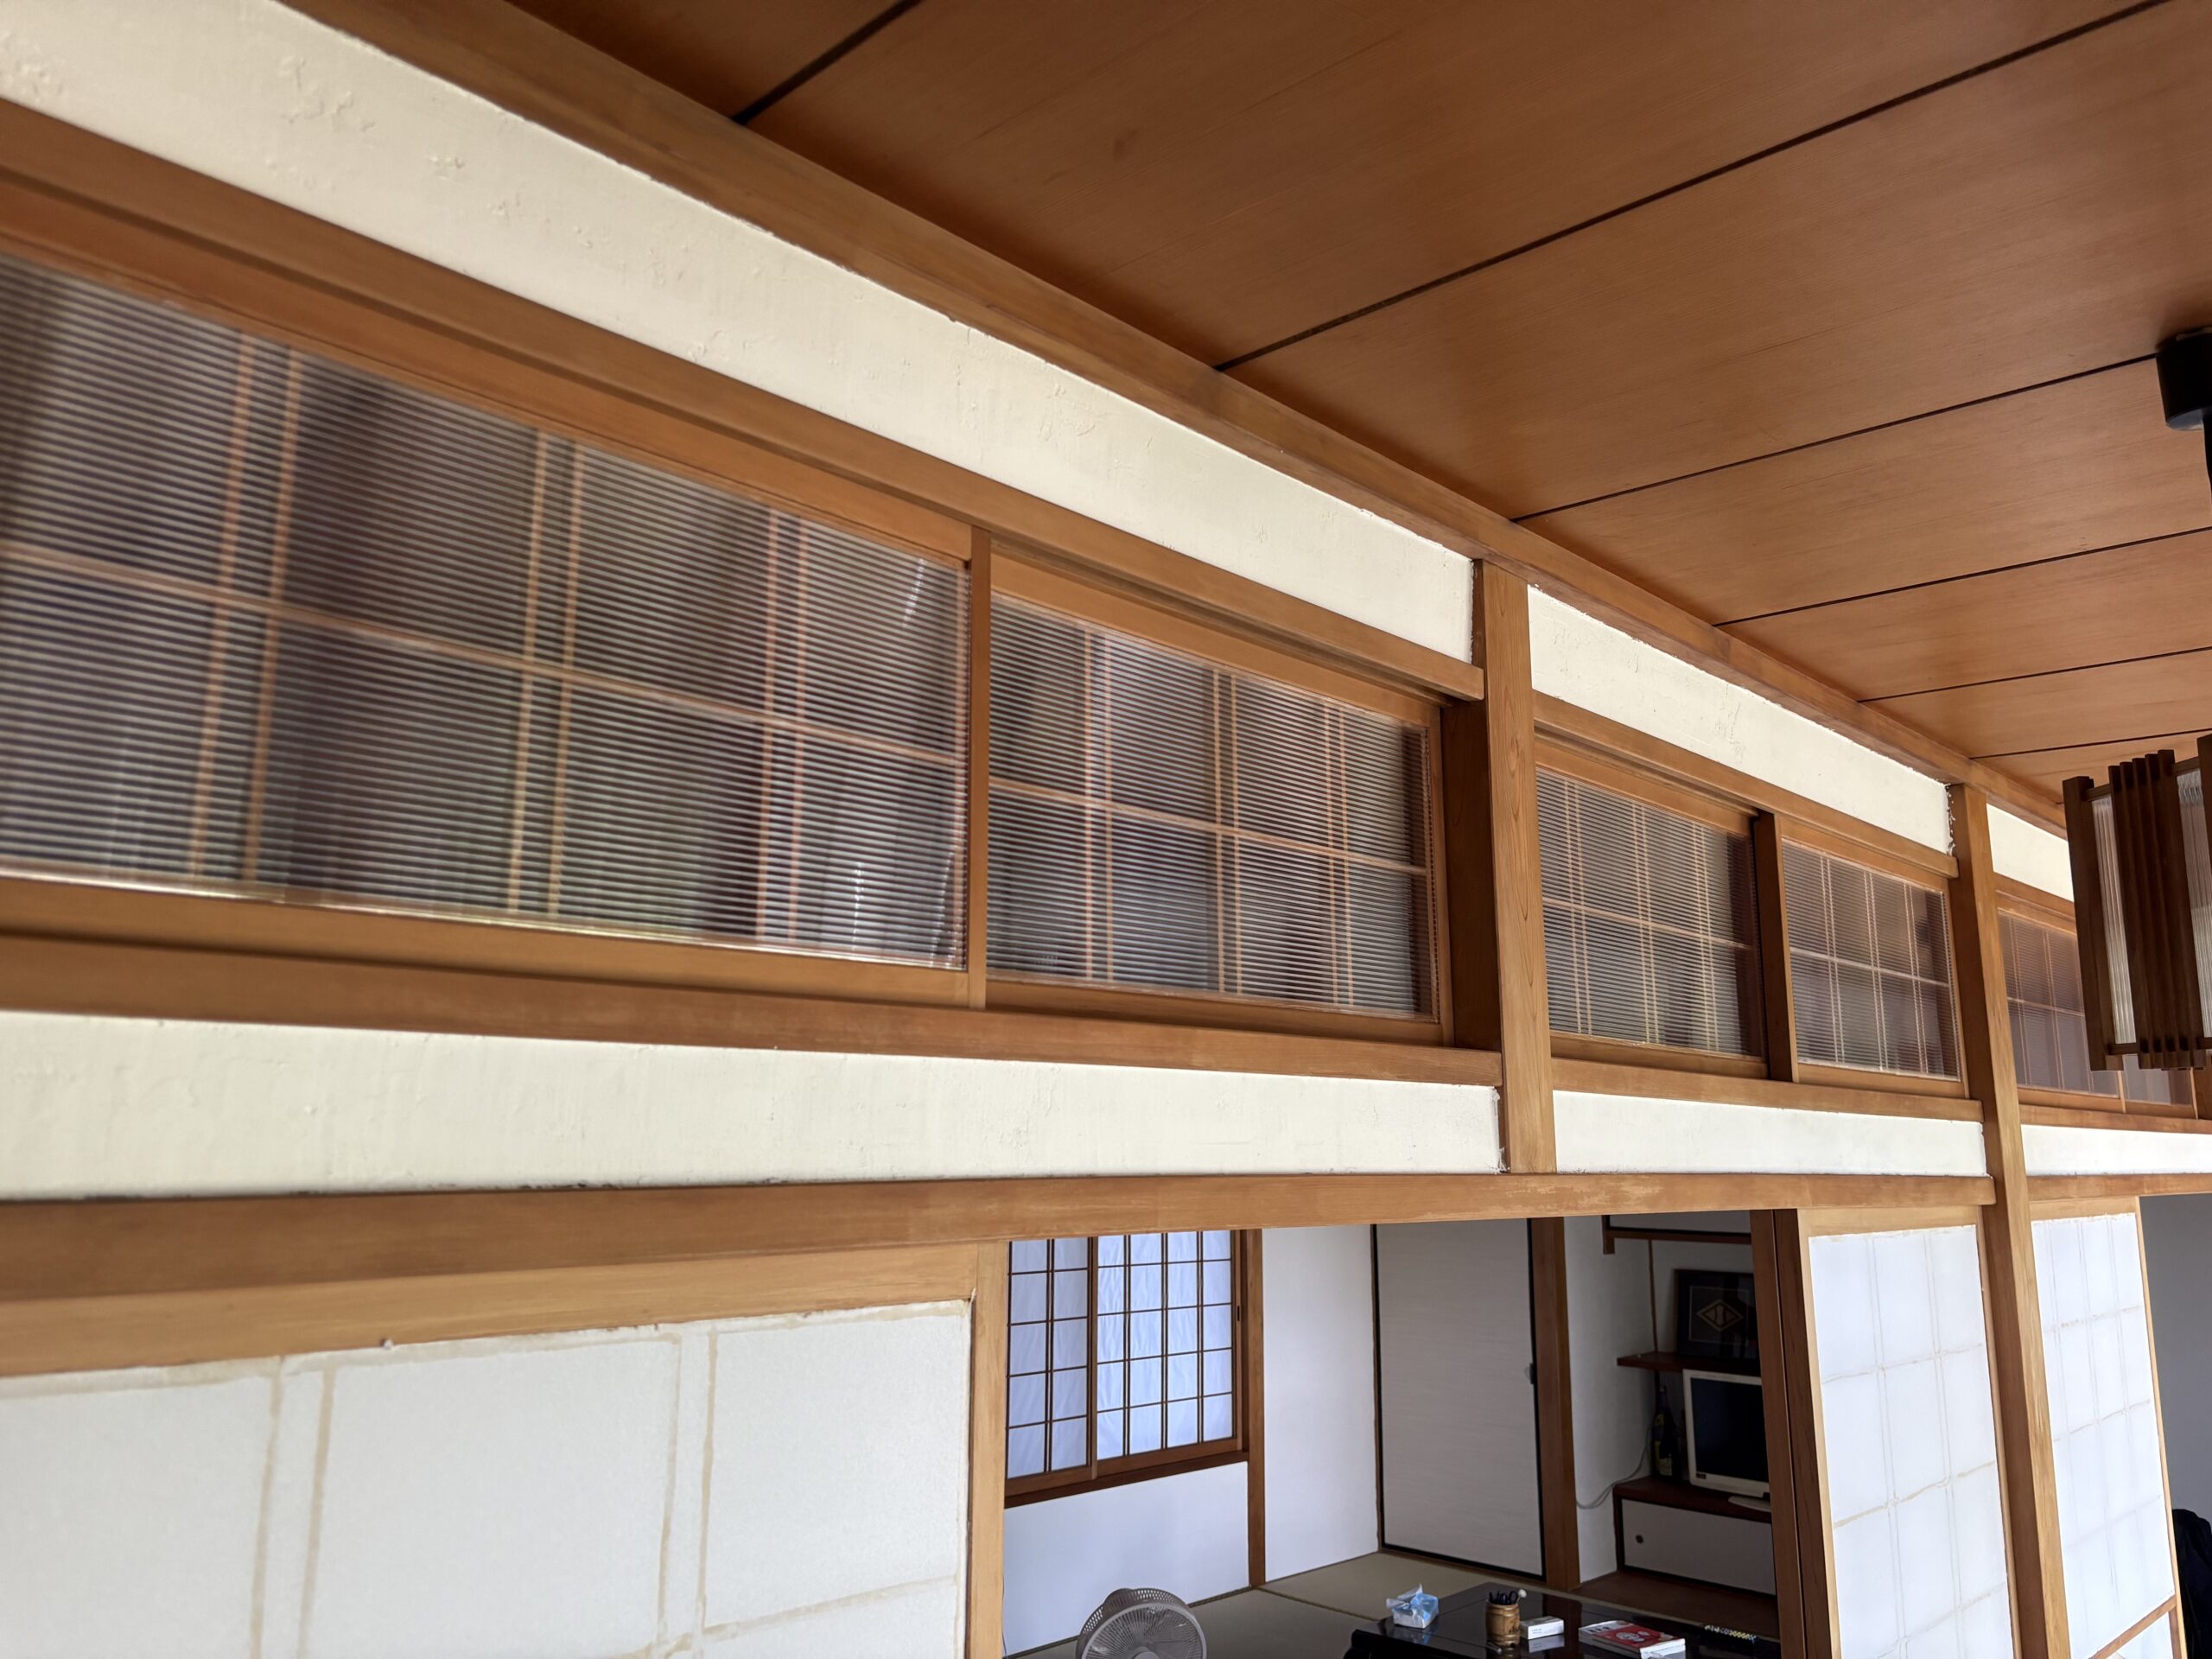
Have you ever noticed that your washitsu (Japanese-style room) feels dim even in the middle of the day?
One reason is often the shoji paper itself. Shoji paper blocks a surprising amount of light, and it yellows with age — which affects how bright a room feels more than most people realize.
If you’ve been wondering whether there’s an alternative to shoji paper — or have simply given up on the idea — this article shares how I brightened up my washitsu by switching to polycarbonate board instead. No special tools are needed, so this is a project beginners can take on too.
Before: A Room That Didn’t Get Much Light
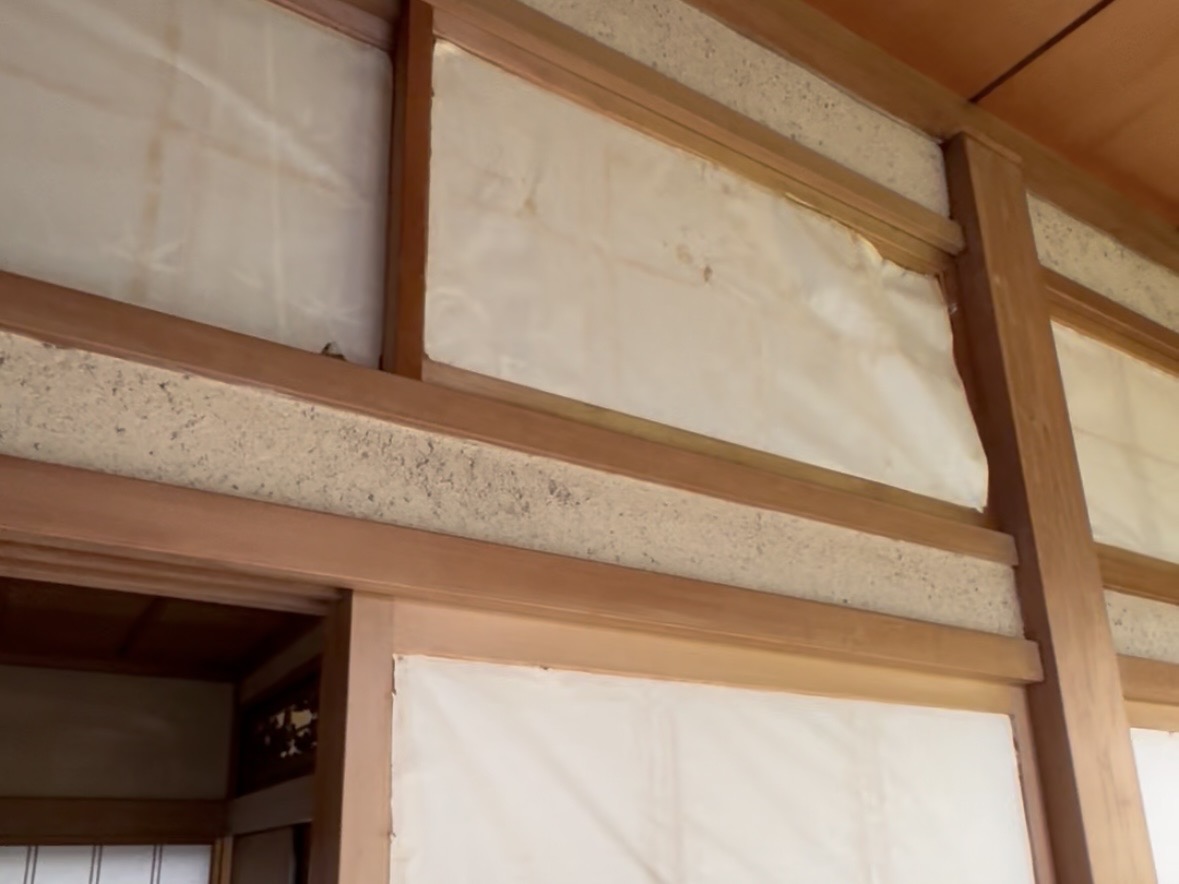
Most of this washitsu was covered by shoji screens, so even during the day the room always felt a bit dim. If your washitsu has the same problem, you’re definitely not alone.
Tools and Materials Used
- Polycarbonate board
- A large metal ruler
- A cutter
- Double-sided tape
- An oil-based marker
- Cut-resistant gloves (I didn’t use them, but I’d recommend them)
Why I Chose This
The main reason I picked polycarbonate board over shoji paper was light. It’s semi-translucent and lets a lot more light through than paper. It cost around ¥2,800 per sheet at the hardware store — more affordable than I expected.
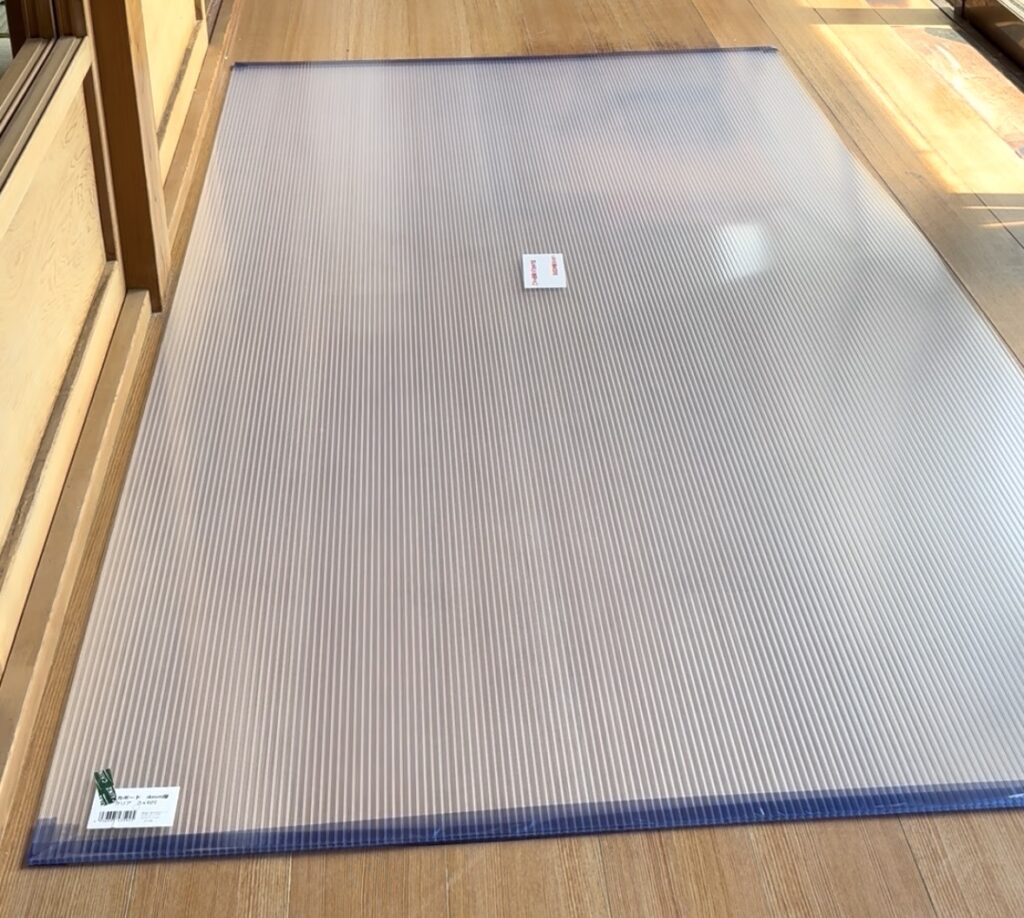
If a sheet that size is a hassle to carry home yourself, you can also order it through Amazon.
▶︎ Polycarbonate board, 600×900mm
Steps
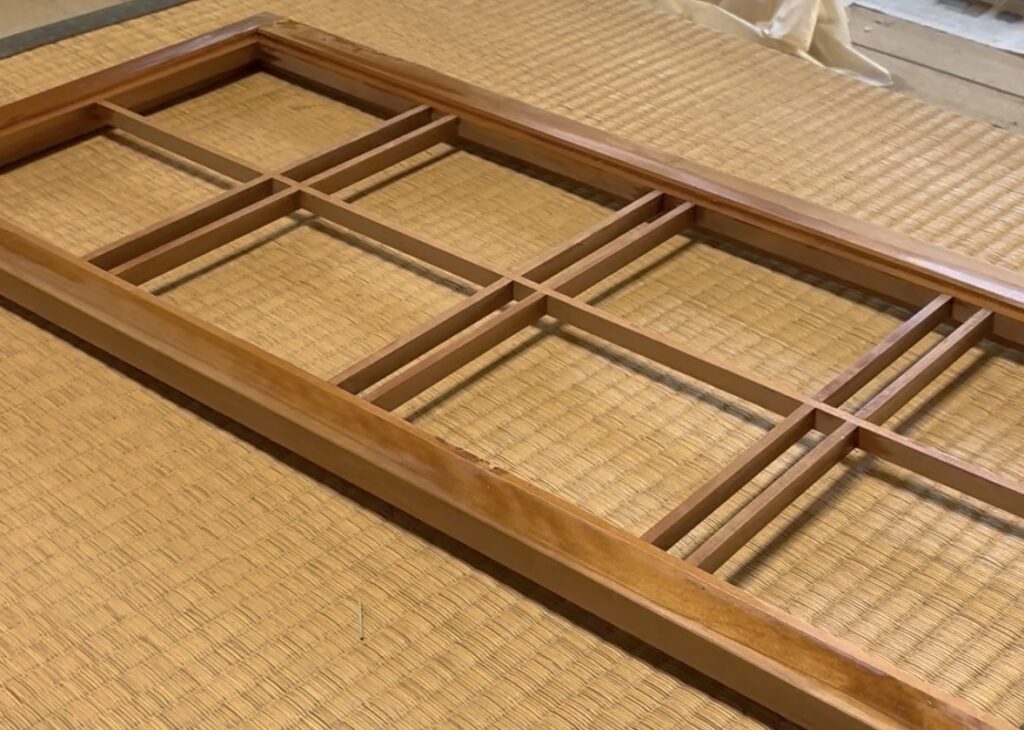
1. Remove the Old Paper
Remove all of the old shoji paper, leaving just the bare wooden frame.
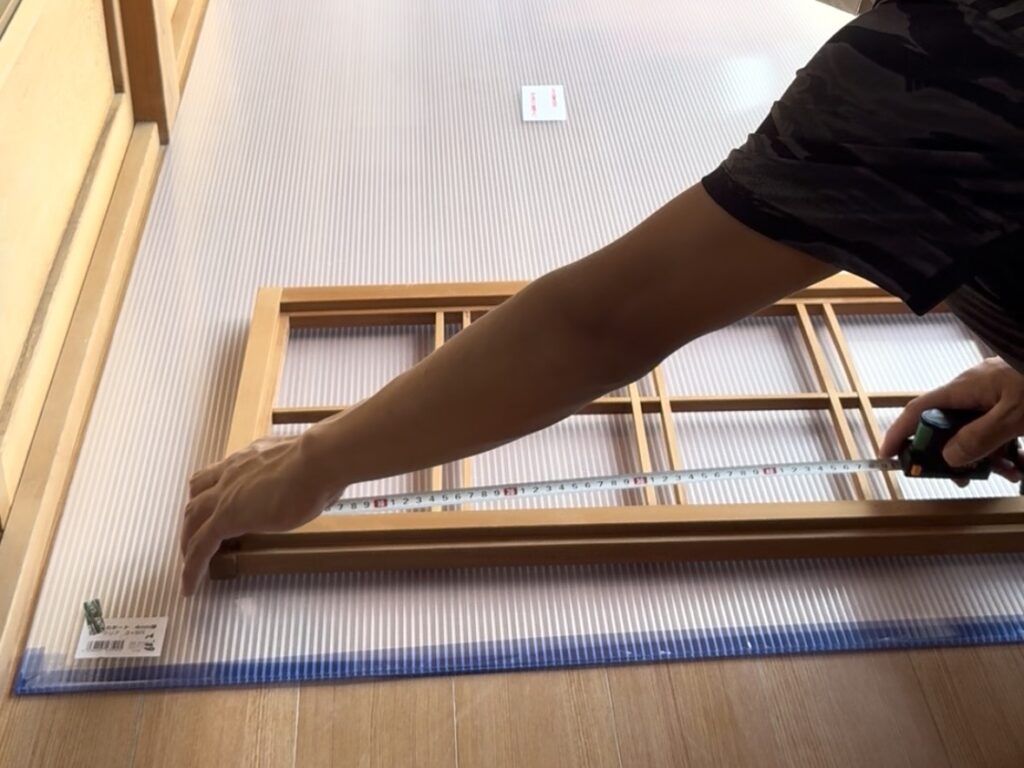
2. Measure and Mark the Board
Measure the wooden frame carefully with a tape measure, then draw your cutting lines directly onto the protective film still covering the polycarbonate board, using an oil-based marker. It’s fine to mark on top of the film — you’ll peel it off after cutting.
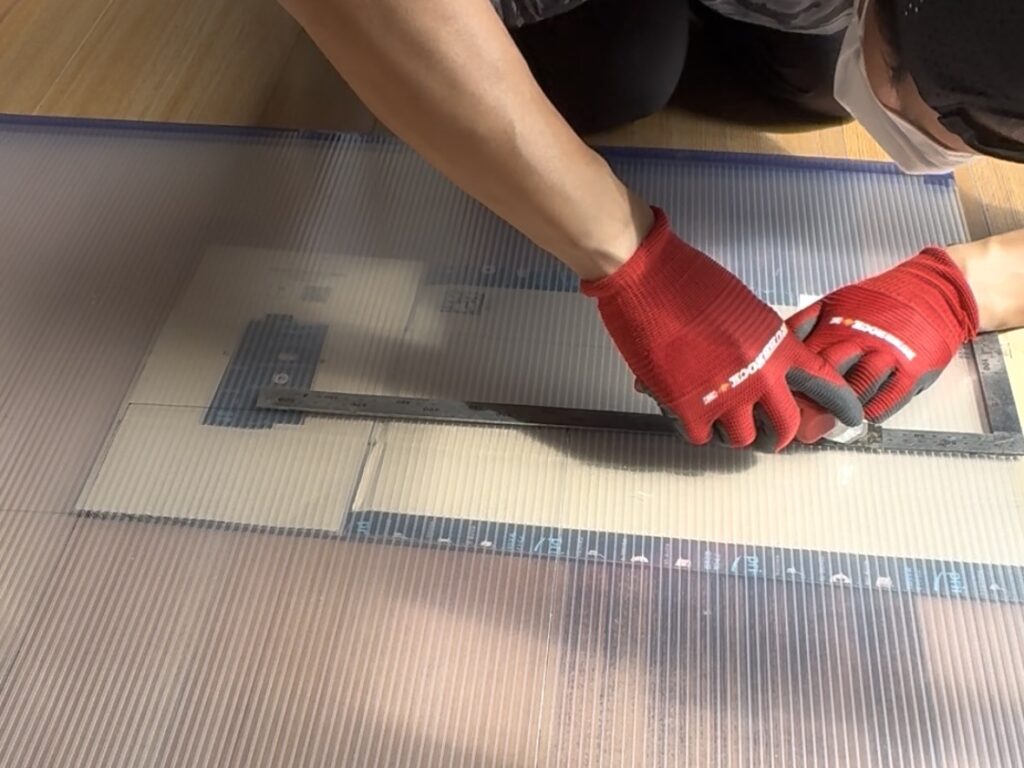
3. Cut Along the Lines
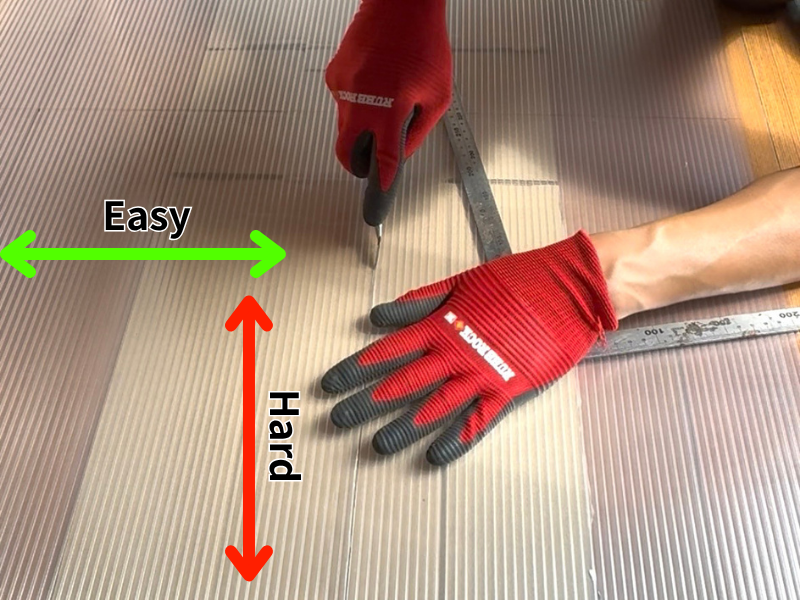
Cut along the lines with a cutter, guided by the metal ruler.
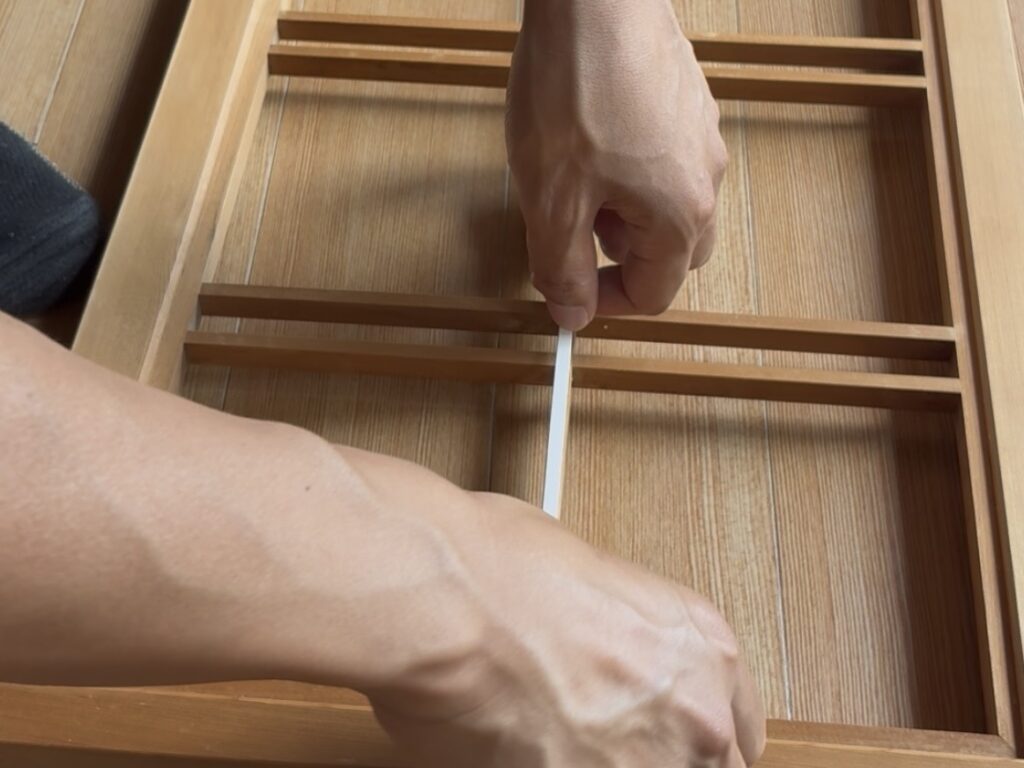
4. Tape the Frame
Apply double-sided tape to the wooden frame.
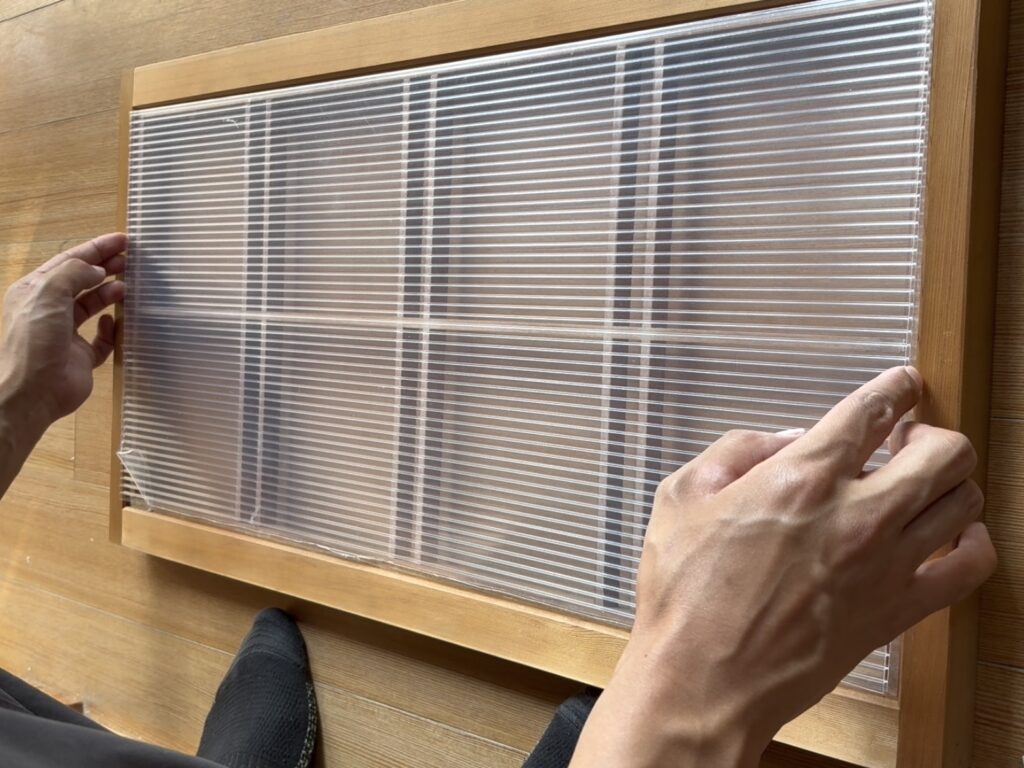
5. Fit the Board Into the Frame
Fit the cut polycarbonate board into the frame and press it into place.
Measuring and Cutting Tips
- If the board ends up even slightly smaller than the frame, you’ll get an ugly gap. Take your time marking accurate lines so the fit is as close as possible.
- Polycarbonate board cuts easily along the direction of its ribbing, but cutting across the ribbing is trickier — don’t try to cut all the way through in one pass. Run the cutter along the same line a few times instead for a cleaner cut.
- Use a large cutter, and snap off a fresh section of blade before you start — a sharper edge makes the cutting go much more smoothly.
- Since you’ll need to apply real pressure while cutting, I strongly recommend using cut-resistant gloves if you’re not confident.
- The cut edges of polycarbonate board are sharp — be careful not to cut your hands when carrying or installing it.
After: The Result
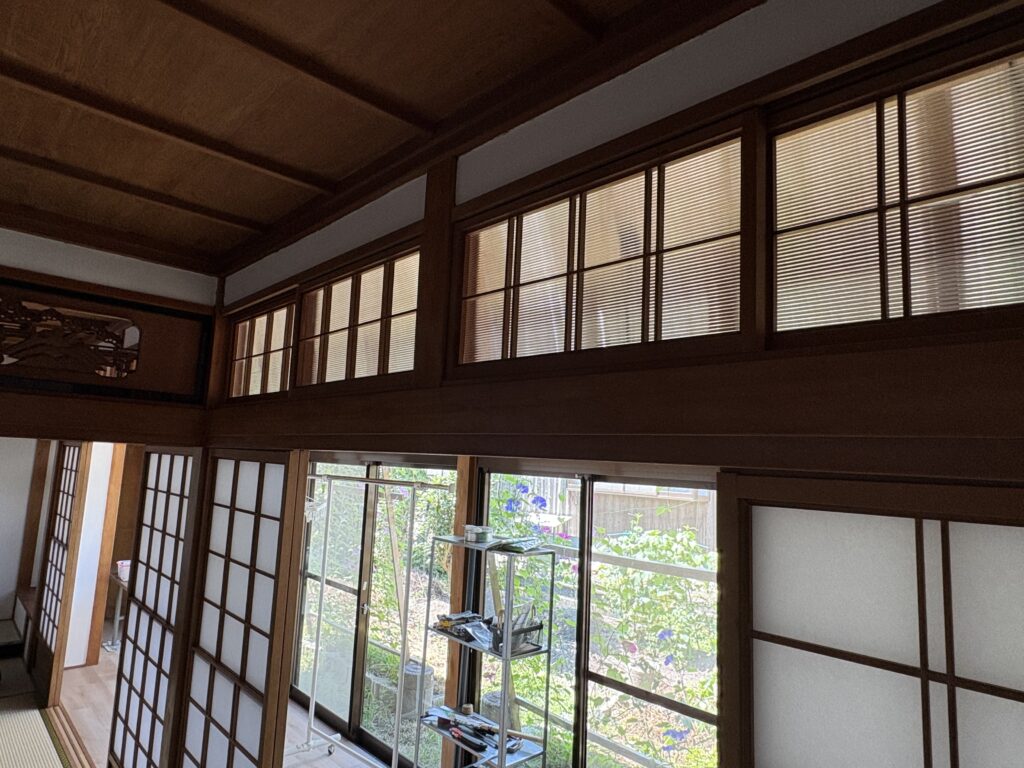
I only swapped the small upper window for polycarbonate board, and even that alone made a big difference in how much light came through. It also gave the room a more modern look, almost like frosted glass, and noticeably shifted the overall feel of the washitsu.
Wrap-Up: Full List of Tools Used
| Item | Purpose |
| Polycarbonate board | Replacement for the shoji paper (main material) |
| Cutter | Cutting the board |
| Cut-resistant gloves (recommended) | Safety while cutting |
| Tape measure, metal ruler | Measuring and marking lines |
| Double-sided tape | Attaching the board to the frame |
Fitting polycarbonate board into a shoji frame or window is easier than it looks, so it’s well worth trying. You’ll get more natural light and a more modern feel to the room — just be extra careful of your hands when cutting the board, since it takes some real force.
▶︎ Buy the tools you need for a polycarbonate board swap here