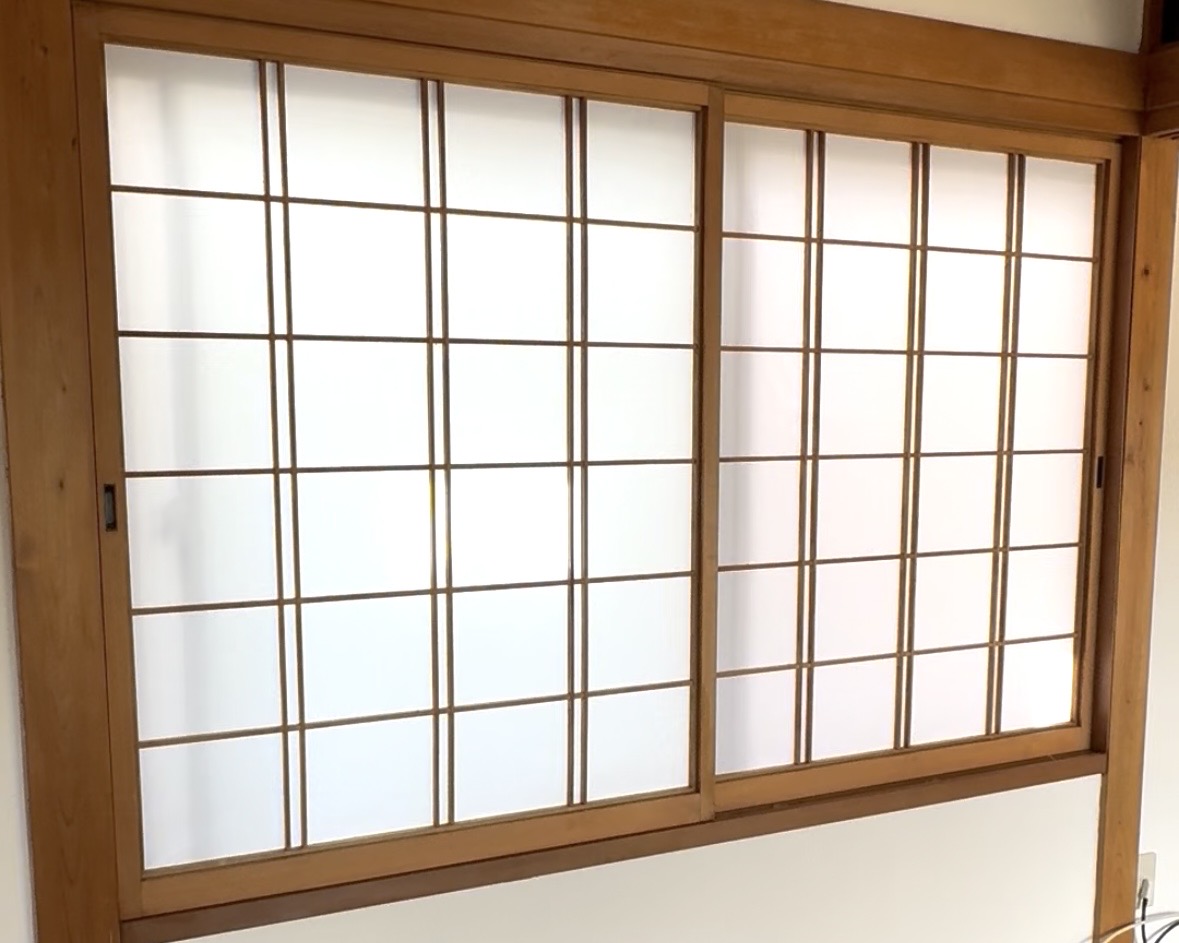
The shoji paper (the translucent paper on the sliding screens common in Japanese rooms) in my washitsu was in rough shape — yellowed, torn, and stained. Honestly, I have no idea when it was last replaced. It had gotten bad enough that it was dragging down the look of the entire room.
Shoji screens cover a large part of a washitsu’s wall space, so when the paper looks dirty or old, it makes the whole room feel neglected. The flip side is also true: clean up the shoji, and the whole room instantly feels brighter.
The good news is that shoji paper and paste are both sold at 100-yen shops (like Daiso), so as long as you have the right tools, this is a DIY project you can start for just a few hundred yen. Here’s how I re-papered the shoji in my own room, including the parts that were trickier than expected.
- What You’ll Need
- Step-by-Step
- 1. Remove the Old Paper
- 2. Clean Off Paper Residue From the Frame
- 3. Tape the New Paper in Place Temporarily
- 4-1. Apply Paste to the Frame
- 4-2. Get Paste Into the Corners
- 5. Slowly Unroll the Paper Over the Frame
- 6. Do a Rough Cut, Leaving Extra Margin
- 7. Smooth Out the Wrinkles
- 8. Trim the Excess Paper to Finish
- Time and Cost
- After
- Wrap-Up
What You’ll Need
- Shoji paper (sized to fit your frame)
- Shoji paste
- Shoji paper remover (a liquid that loosens old paper)
- Masking tape
- Scraper (for cleaning off old paper residue)
- Cutting guide
- Cutter knife (a shoji-specific one is best)
- Sponge or spray bottle
▶︎ See the full set of shoji re-papering tools
One Tool Worth Having at Home
The one item I’d most recommend is a “shoji re-papering kit.” It bundles the cutter, cutting guide, paste, and paper remover together, so if this is your first time, you won’t have to hunt down each item separately.
Once you buy it, the specialty cutter and cutting guide can be reused indefinitely. After the first time, you’ll only need to buy more shoji paper and paste — which keeps the cost down going forward.
If you just want to try it cheaply first, Daiso and other 100-yen shops also sell both shoji paper and paste, so that’s a fine place to start too.
Step-by-Step
1. Remove the Old Paper
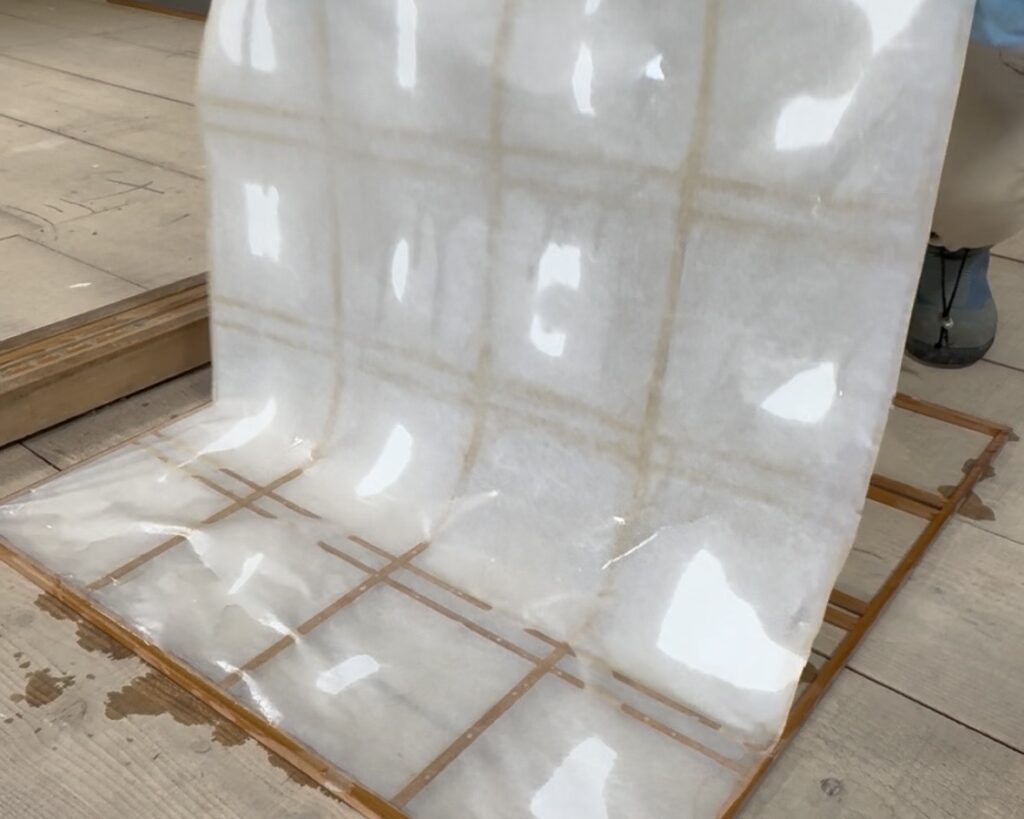
Soak the old shoji paper thoroughly with a sponge or spray bottle, then wait at least a minute. Once the paste has softened with the moisture, peel the paper away slowly from one edge — it should come off cleanly.
2. Clean Off Paper Residue From the Frame
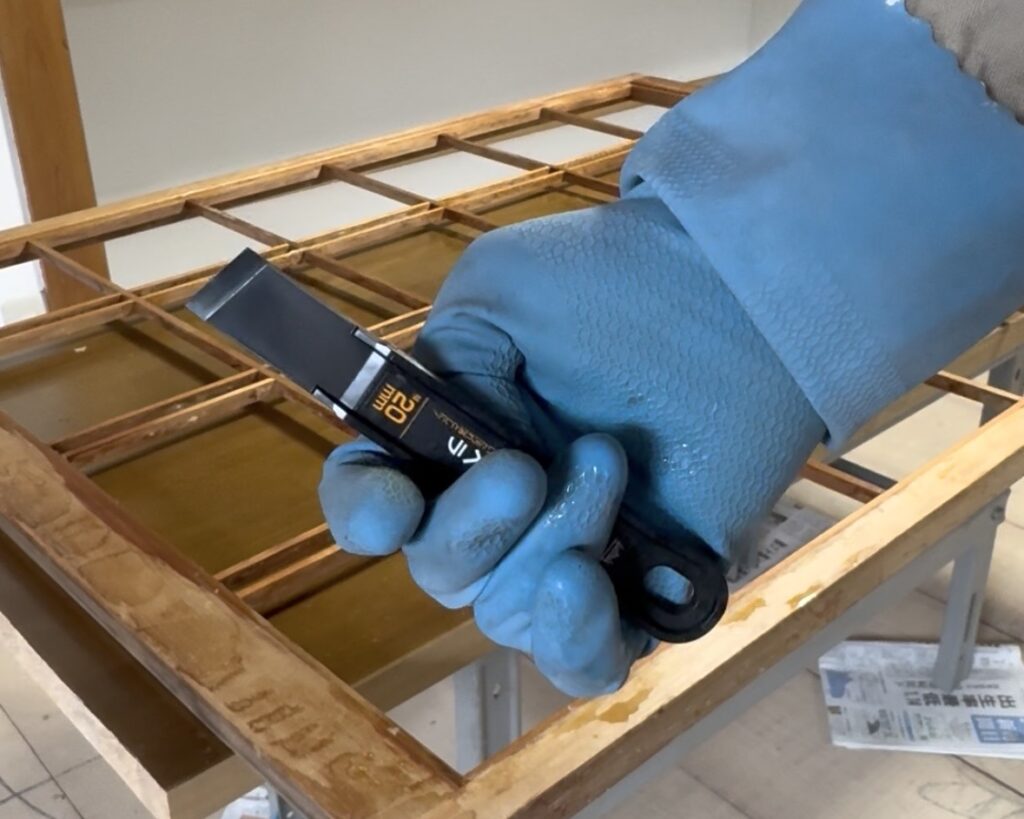
Use a scraper or a cloth to remove any leftover bits of paper stuck to the wooden frame. Doing this thoroughly makes a big difference in how clean the finished result looks.
3. Tape the New Paper in Place Temporarily
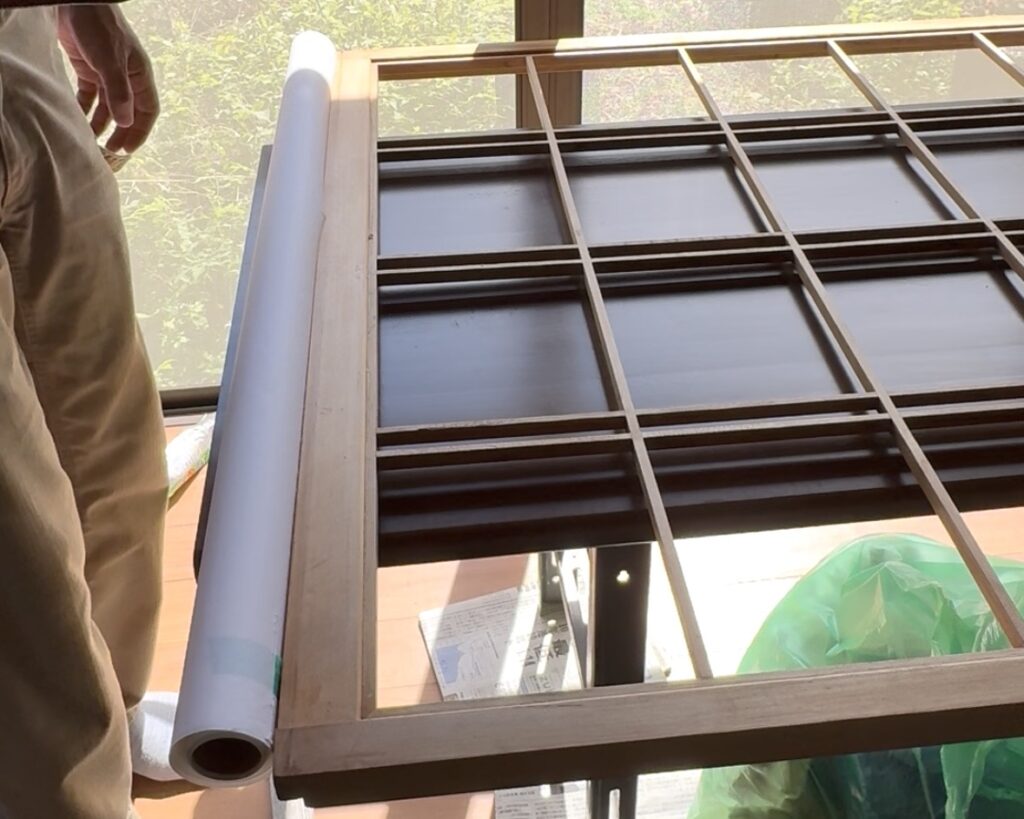
Tape the new shoji paper to the outside edge of the frame with masking tape so it doesn’t shift while you work.
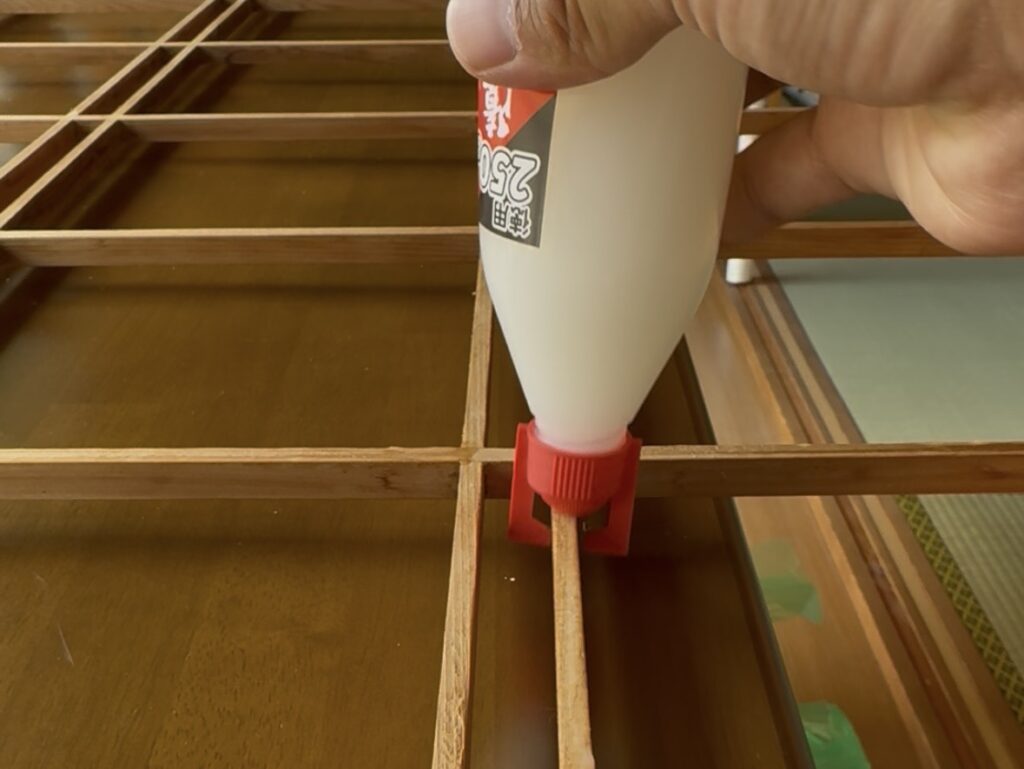
4-1. Apply Paste to the Frame
Spread the shoji paste evenly across the whole frame. Most shoji paste bottles have a guide built into the cap that makes it easier to trace along the frame.
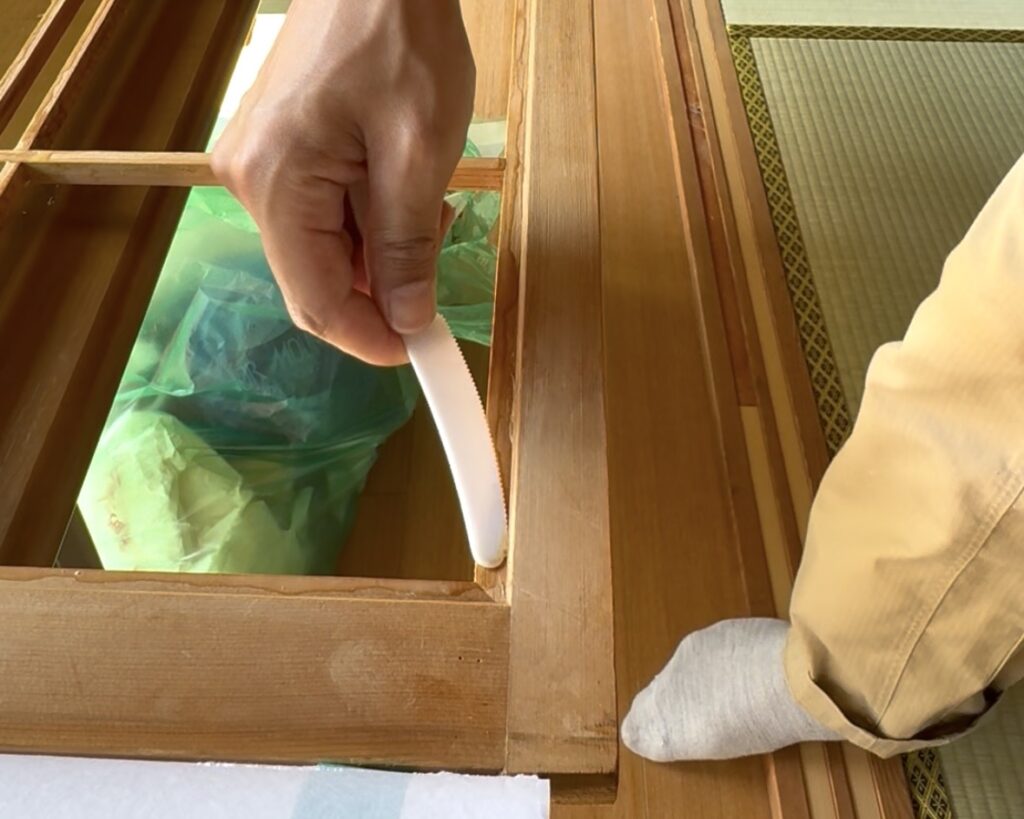
4-2. Get Paste Into the Corners
The corners are harder to reach, so use a small spatula and take your time spreading paste all the way into them. If the corners don’t get enough paste, the paper will peel off there later.
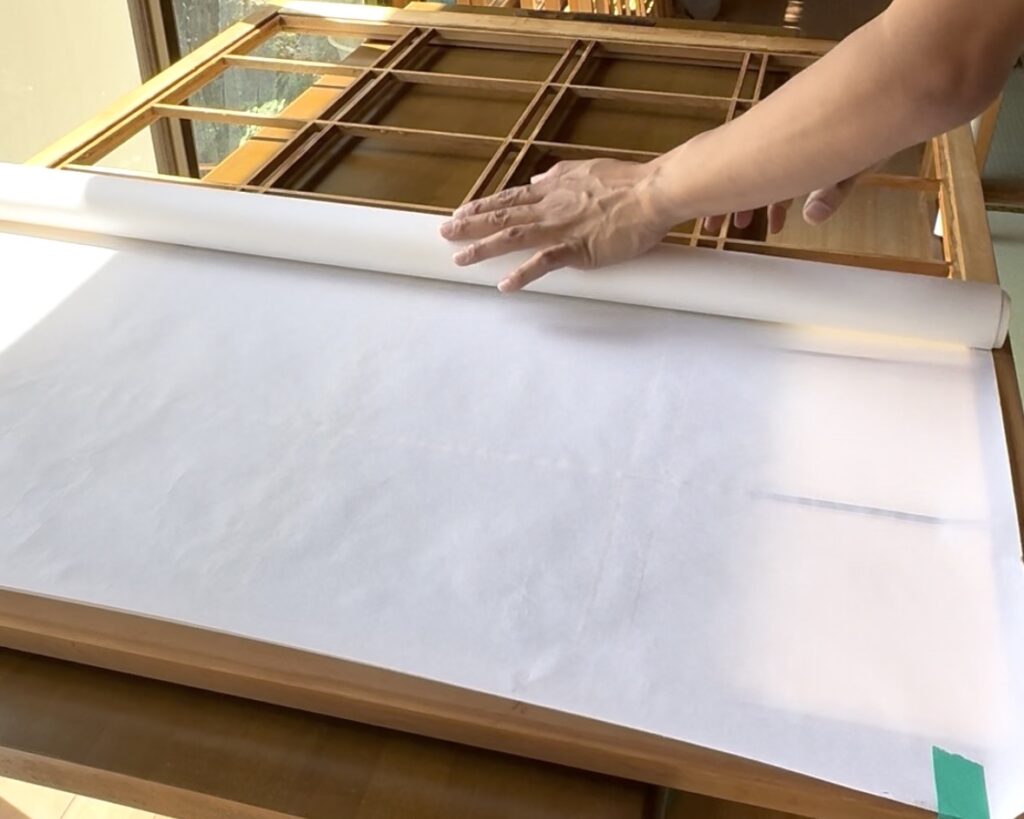
5. Slowly Unroll the Paper Over the Frame
Once the paste is on, slowly unroll the shoji paper over the pasted frame.
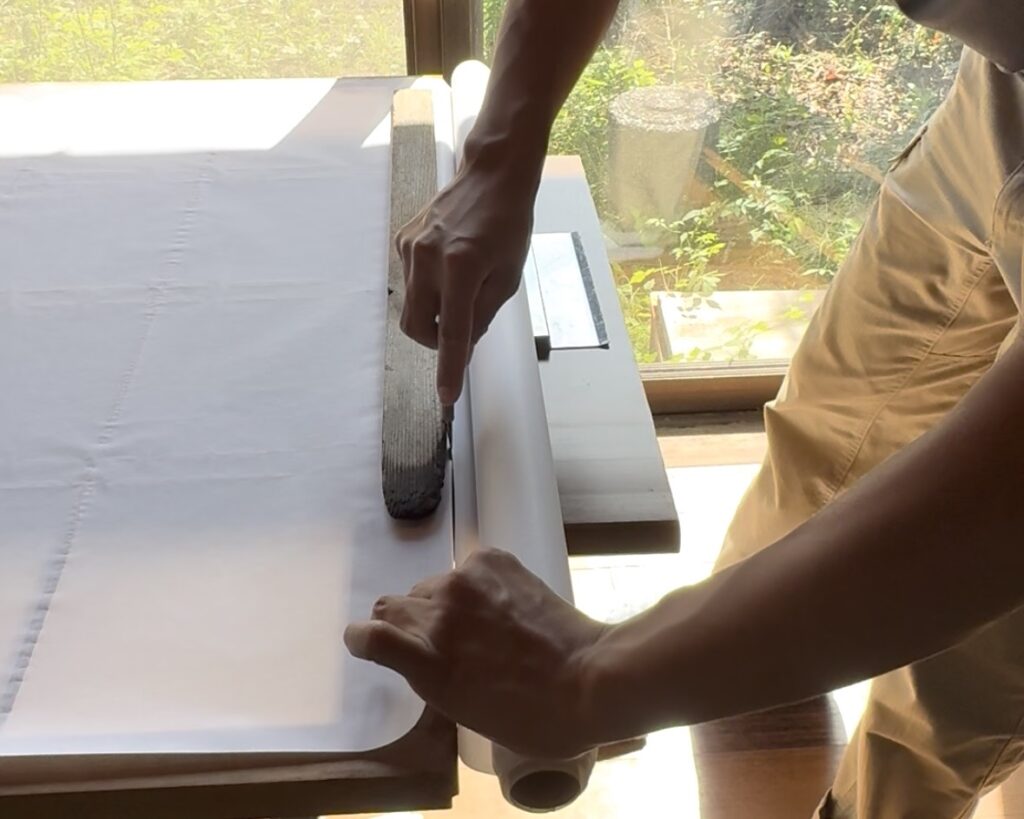
6. Do a Rough Cut, Leaving Extra Margin
Once the paper is unrolled all the way, cut it roughly with a cutter, leaving some extra margin. You’ll do the final, precise trim later.
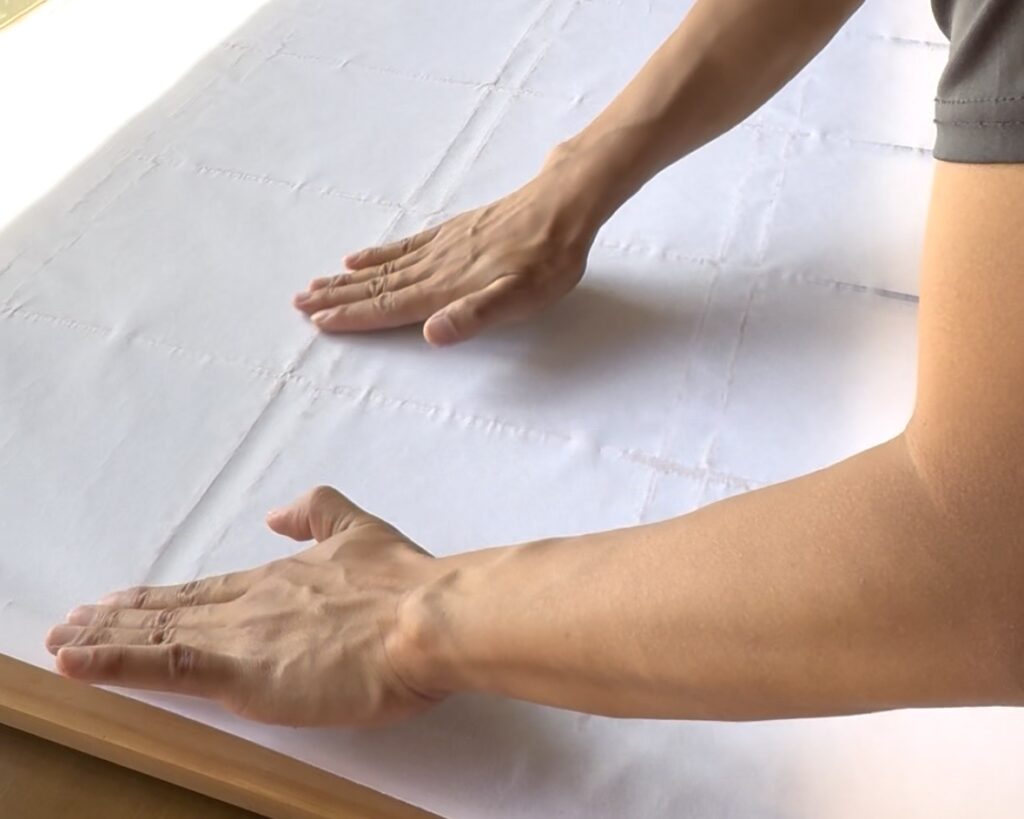
7. Smooth Out the Wrinkles
Gently press the paper with your fingers, working from the center outward, to push out air and smooth away wrinkles. As the wrinkles disappear, keep pressing firmly so the paper sticks flat to the frame.
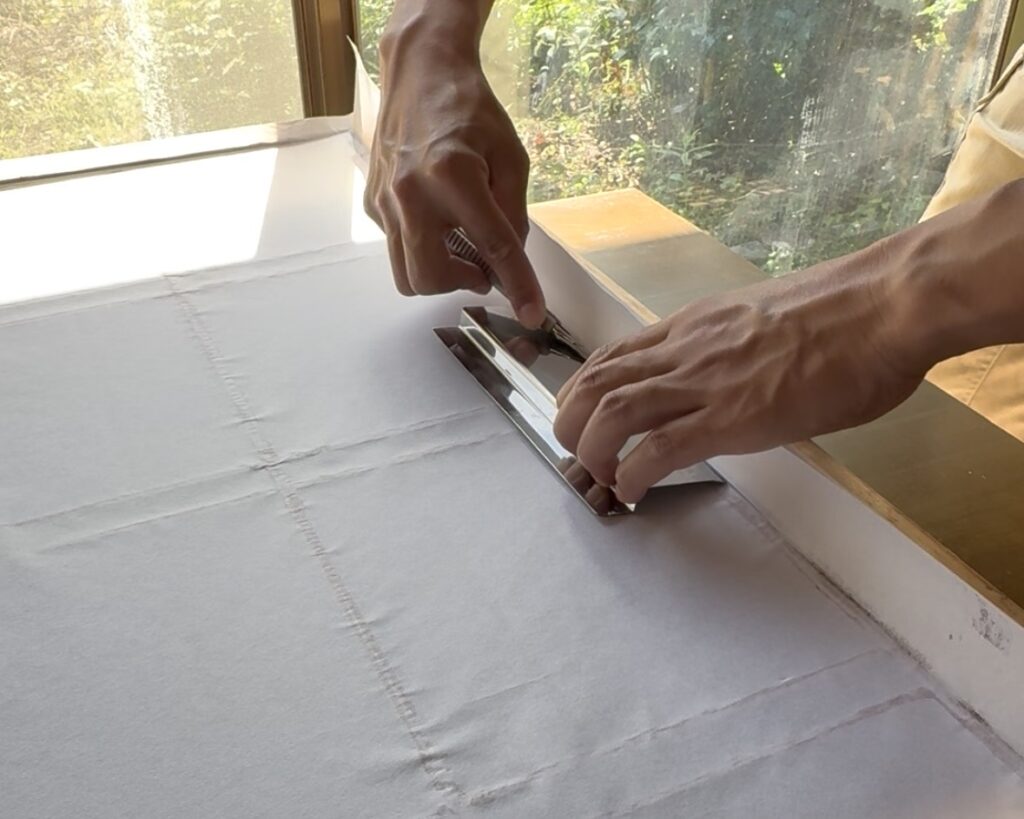
8. Trim the Excess Paper to Finish
Run the cutting guide along the edge of the frame and trim off the excess paper with your cutter.
⚠️ A word of caution: If you cut the paper while it’s still damp with paste, it’s harder to slice cleanly and can tear or leave rough edges. Letting it dry a bit before cutting — or using a shoji-specific cutter — will give you a much cleaner finish.
Honestly, this cutting step was the hardest part of the whole process. The paper is tricky to cut while it’s still wet, and you have to work carefully and slowly to avoid tearing it.
Time and Cost
- Time: About 30 minutes per panel
- Cost: About ¥3,000 the first time (roughly ¥1,000 for two sheets of shoji paper, plus about ¥2,000 for the re-papering kit). Since the kit is reusable, later re-papering jobs only cost about ¥1,000 in paper.
After
Here’s the result. With bright white paper, the whole room got noticeably lighter.
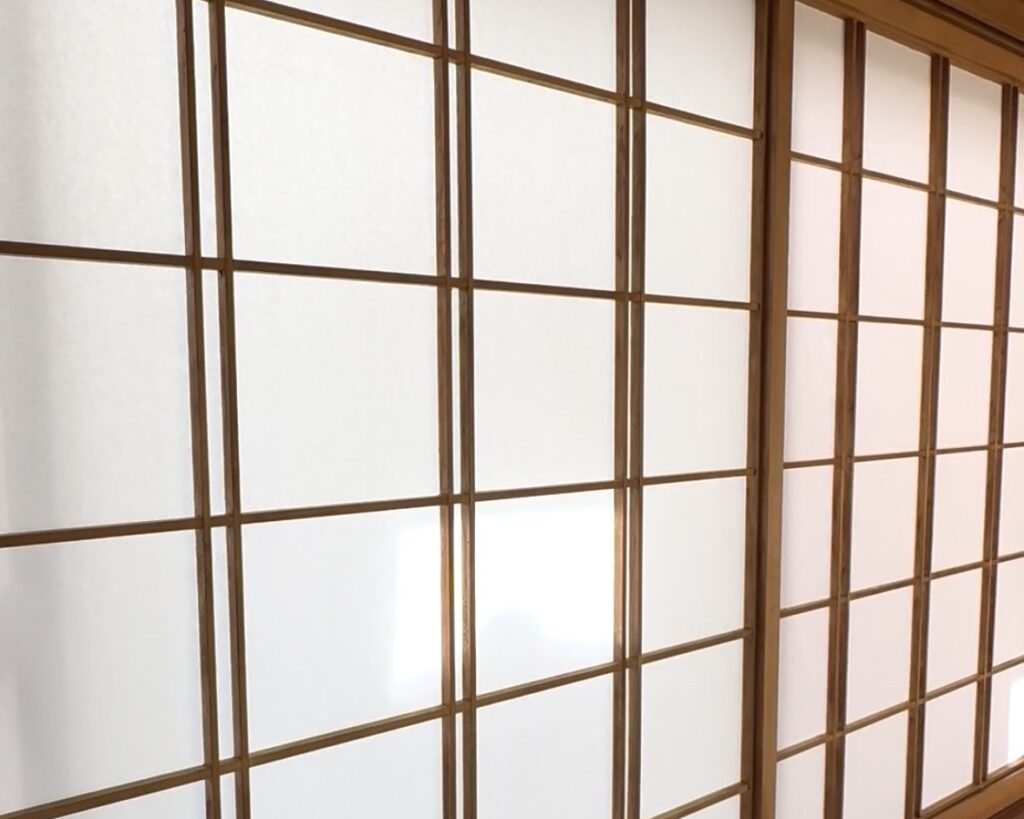
Wrap-Up
These shoji screens had been neglected for over a decade, but once I actually got my hands on them, the change to the room’s overall impression was bigger than I expected. Because shoji take up so much wall space in a washitsu, just cleaning them up makes the whole room feel brighter.
This is simple enough that even my mother has been re-papering her own shoji for years — so if you’re on the fence, try starting with a less visible panel first. ▶︎Buy the tools you need for shoji re-papering here
Next time, I want to let the paper dry a bit longer before cutting to improve the precision of the finish, and I’d also like to try — and review — a more durable plastic shoji paper, not just the standard kind.
This post contains affiliate links.