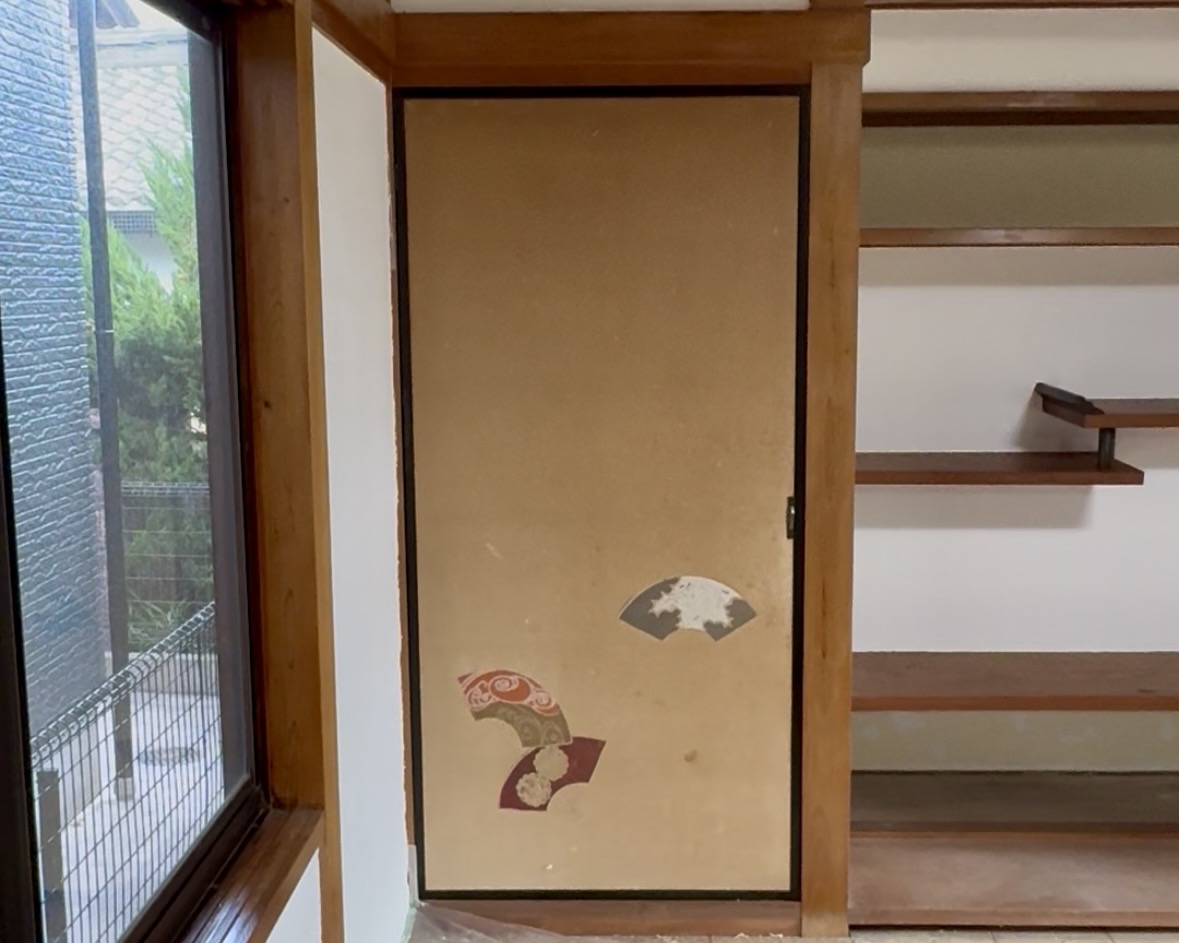
If you live in an old Japanese house (kominka), sooner or later you’ll run into deteriorating fusuma — the thick sliding paper doors used inside Japanese rooms. Ours were no exception: years of sun exposure and grime had left them looking dull and faded, and honestly, they were dragging the whole room down.
When people hear “re-papering fusuma,” they usually picture calling in a professional. And it’s true that the full traditional method — called fukurobari — rebuilds the door from the base layer up, which takes real skill and time.
This time, though, I tried a simpler method called uwabari: pasting new fusuma paper directly over the old paper, without removing it first.
- Before: Faded, Grimy Fusuma
- What You’ll Need
- Step-by-Step
- 1. Remove the Hinges and Door Pull
- 2. Wipe Down the Surface
- 3. Protect the Wooden Border With Masking Tape
- 4. Cut the New Fusuma Paper to Size
- 5. Soak the Paper Thoroughly With Water
- 6. Lay the Fusuma Onto the Paper
- 7. Push Out Air From the Center Outward
- 8. Press the Edges Firmly With a Roller
- 9. Trim the Excess Paper
- 10. Reattach the Pull and Hinges
- After: The Finished Fusuma
- Wrap-Up
Before: Faded, Grimy Fusuma
Years of use had left the paper’s surface sun-bleached and yellowed, with the pattern worn thin in places. Nothing was torn — it was more a case of “still usable, but visibly old.”
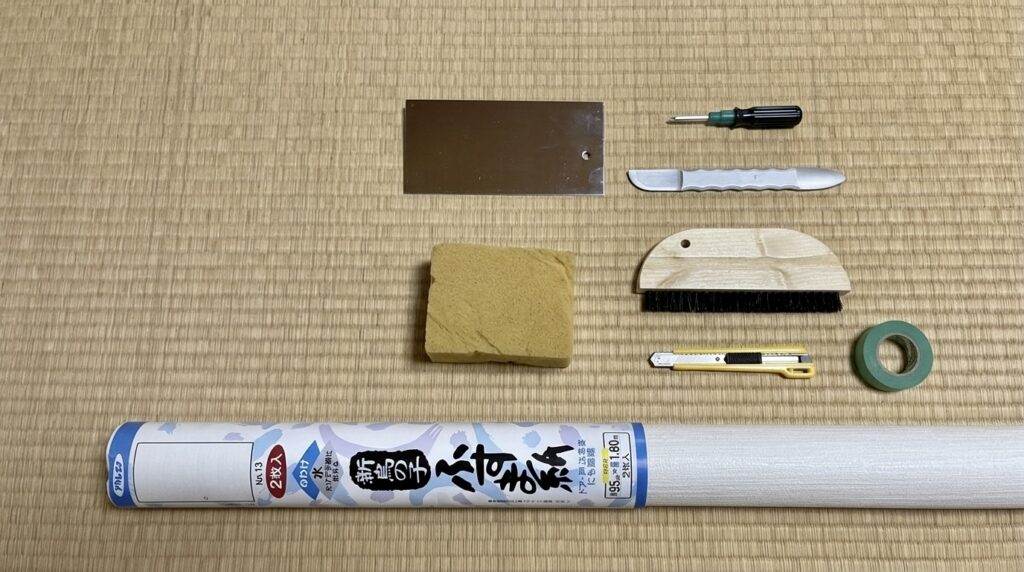
What You’ll Need
With the right tools, each panel takes about 30 minutes — an approachable project even for a first-time DIYer.
- Water-activated fusuma paper
- A trimming guide (a straightedge for cutting paper cleanly)
- A plastic spatula (for shaping corners)
- A smoothing brush (for pushing out air bubbles)
- A cutter knife
- Masking tape
- A bucket of water and a sponge
- A Phillips screwdriver (for removing the door pull and hinges)
You can choose whatever color or pattern of fusuma paper you like, but for the specialized tools, the big advantage is that a complete re-papering kit is sold as a set, so even first-timers don’t have to guess what to buy. It also saves you the trouble of hunting through multiple aisles at the hardware store.
▶︎ Fusuma re-papering tool set (7 pieces)
▶︎ Fusuma paper
Step-by-Step
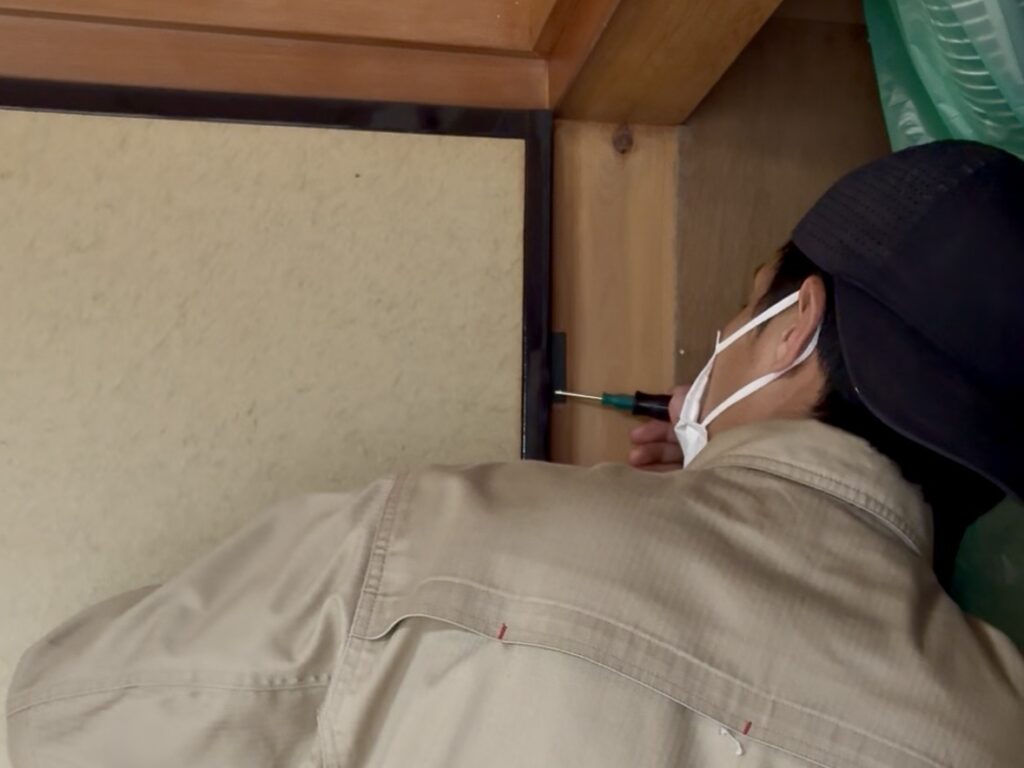
1. Remove the Hinges and Door Pull
Start by removing the hinges with a Phillips screwdriver and taking the fusuma off its frame. Lay it flat on a surface like a tatami mat so it’s easier to work on. Since mine was a hinged (swinging) fusuma, I removed the door pull with a screwdriver too. If yours is a sliding-type fusuma, use the pull-remover tool included in your re-papering kit instead.
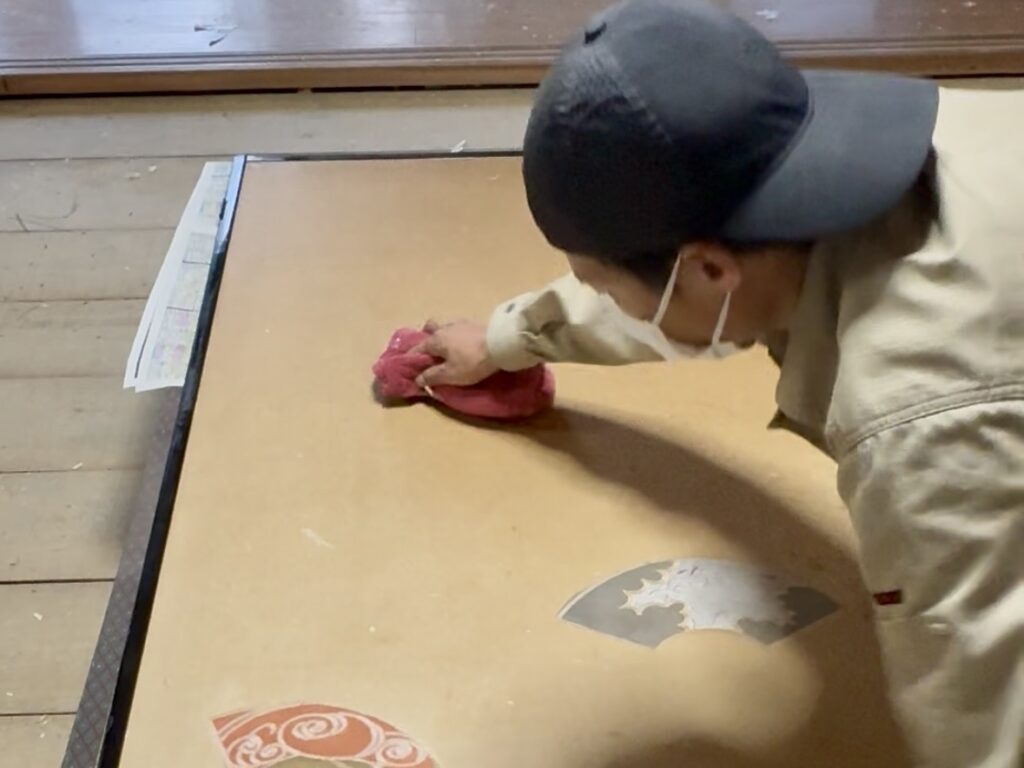
2. Wipe Down the Surface
Wipe the surface of the fusuma to remove dirt. A damp cloth is fine, just be careful not to tear the paper underneath.
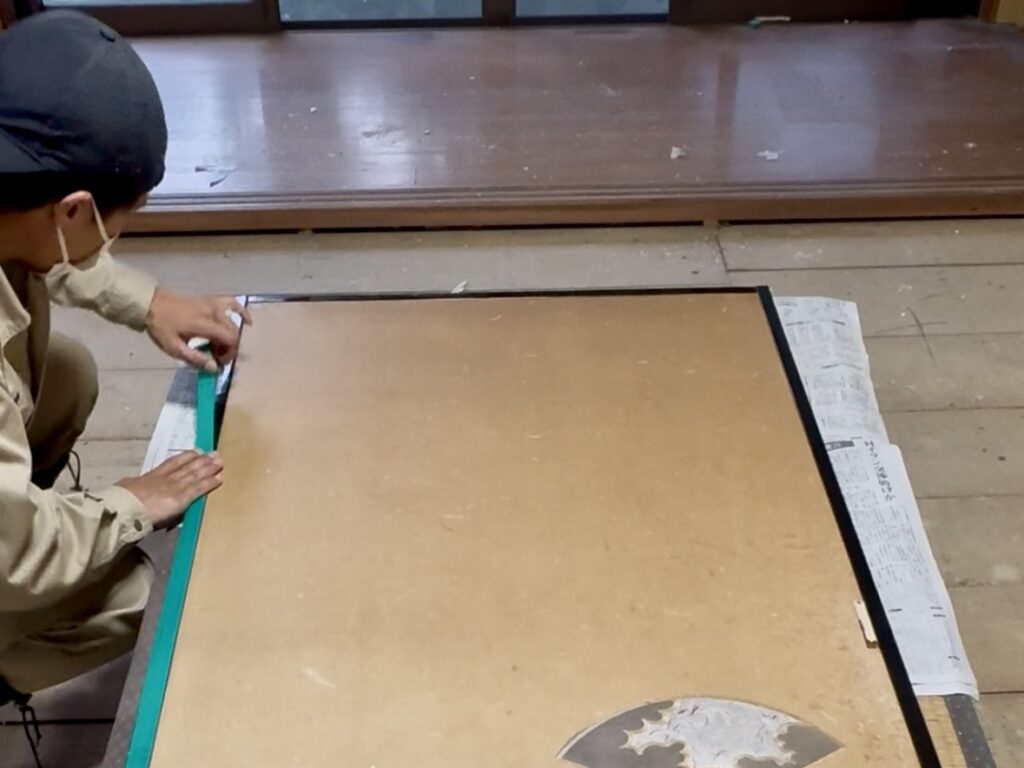
3. Protect the Wooden Border With Masking Tape
Apply masking tape to the wooden frame (the border) around the fusuma so it doesn’t get stained with paste when you apply the new paper.
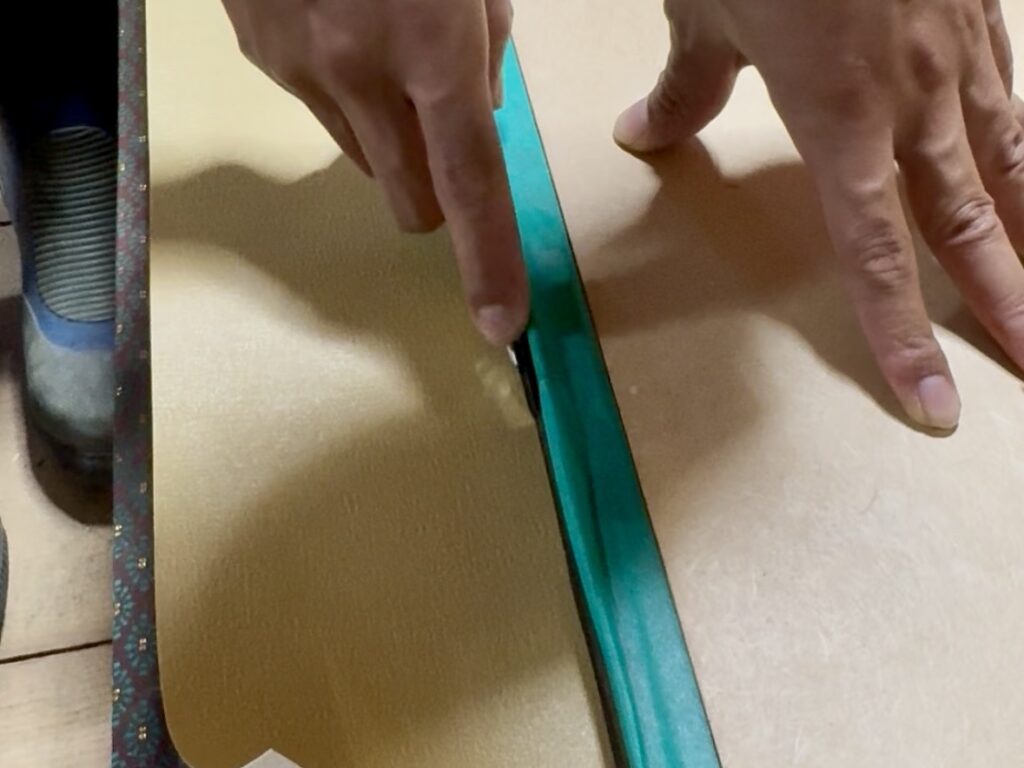
4. Cut the New Fusuma Paper to Size
Lay the fusuma on top of the new paper and cut the paper to match the frame.
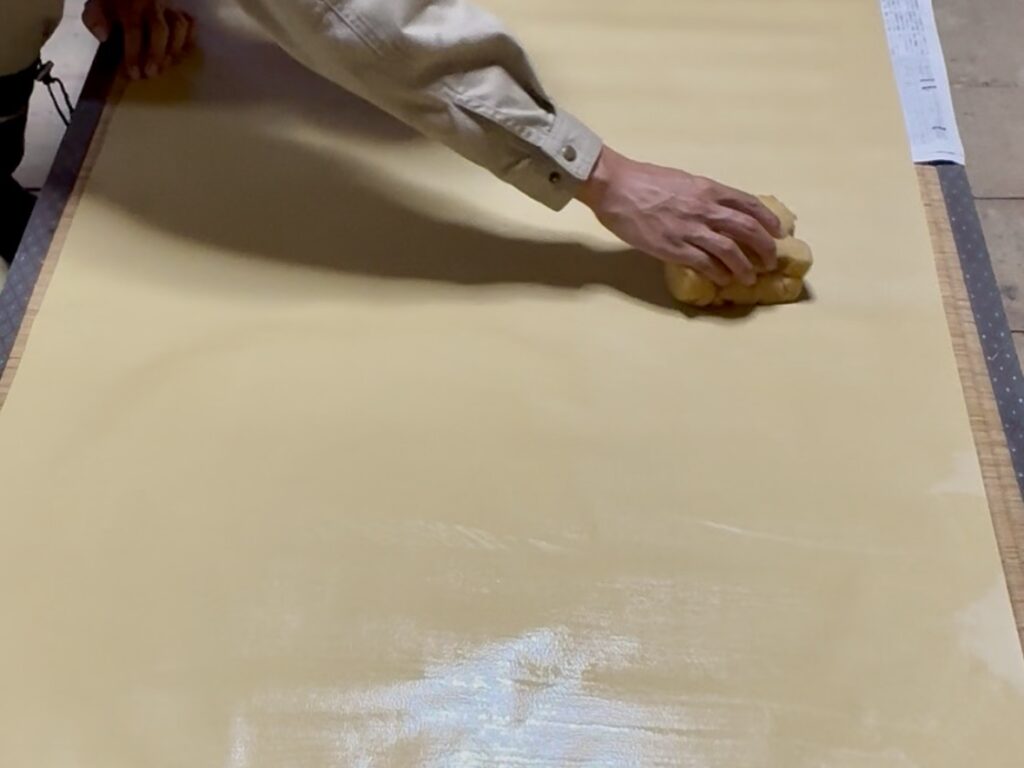
5. Soak the Paper Thoroughly With Water
Use a sponge to apply water across the entire back of the new fusuma paper. This was the single most important step. Because you’re pasting over old paper, the surface needs to be soaked enough that a bit of water pools on top — if there isn’t enough moisture, you’ll likely get bubbling or peeling later.
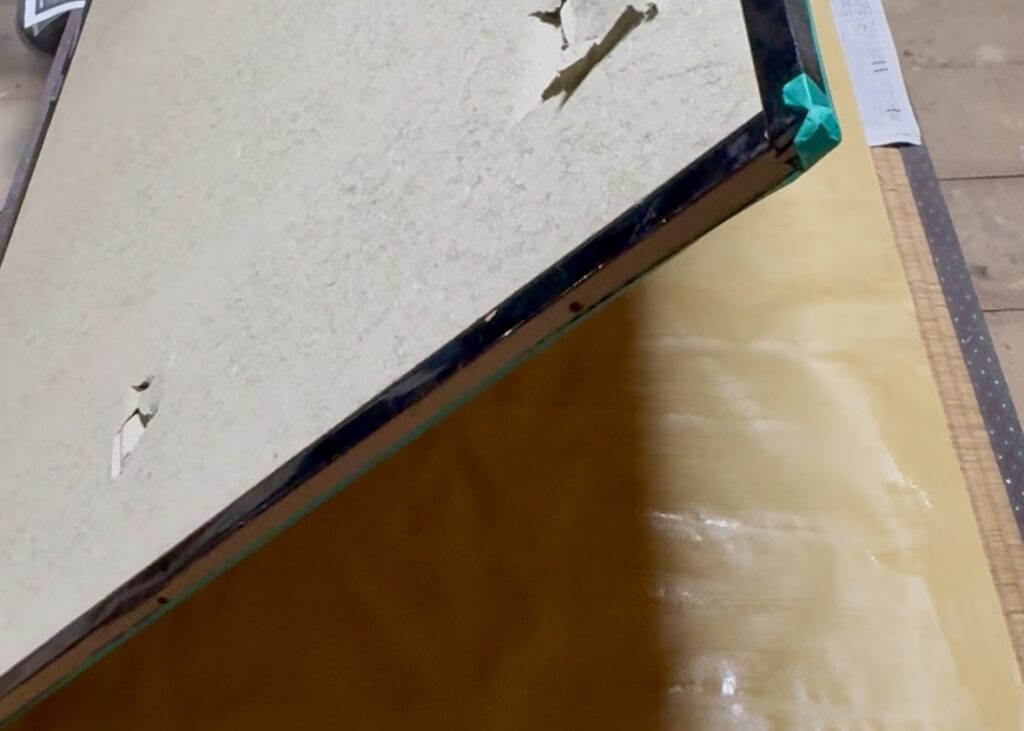
6. Lay the Fusuma Onto the Paper
Line up the fusuma over the wet paper, press it down gently, and then flip the whole thing over.
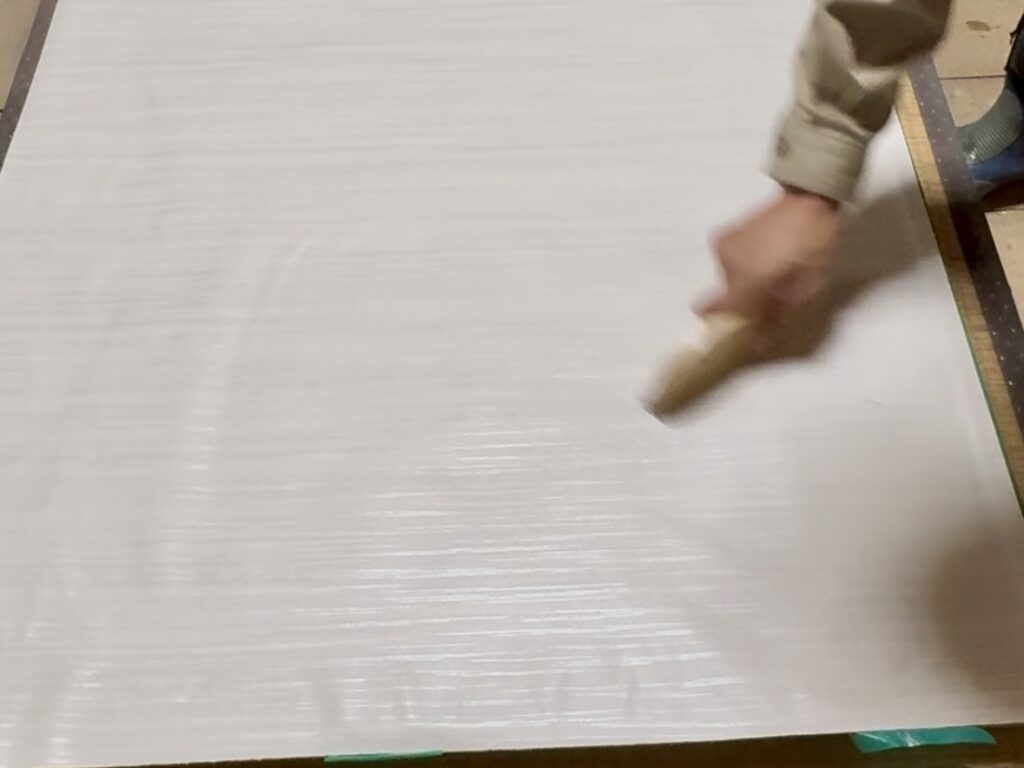
7. Push Out Air From the Center Outward
Using the smoothing brush, work from the center of the paper outward, pushing air bubbles toward the edges.
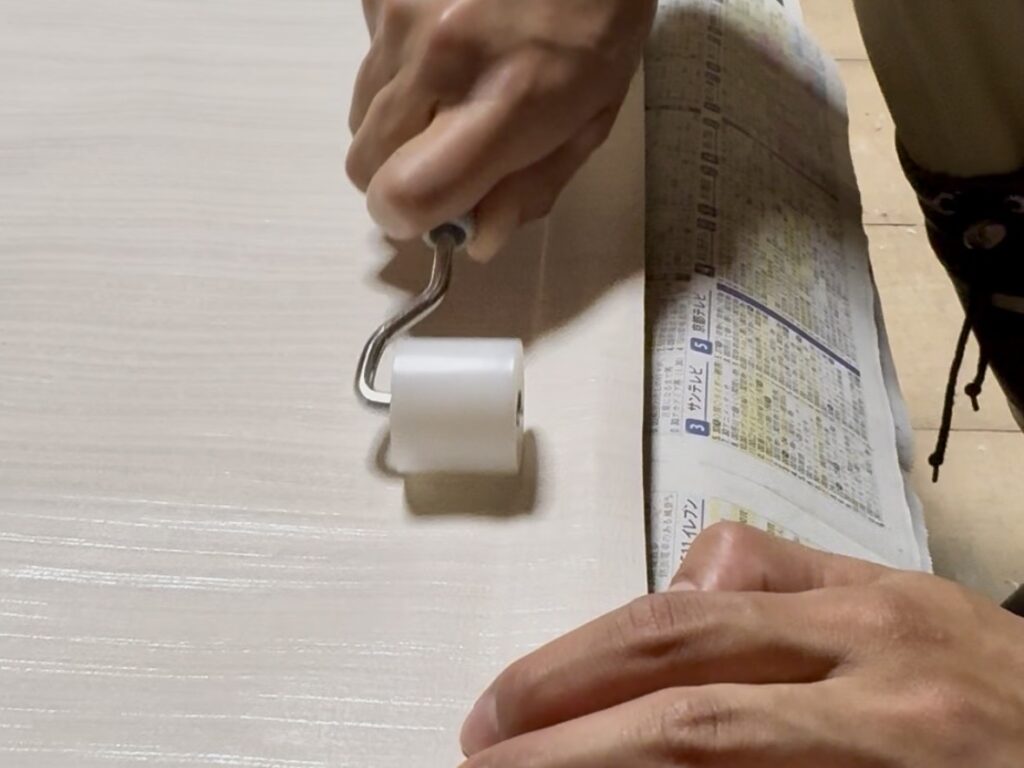
8. Press the Edges Firmly With a Roller
The edges tend to lift the easiest, so use a roller and spatula to press them down firmly all the way to the border.
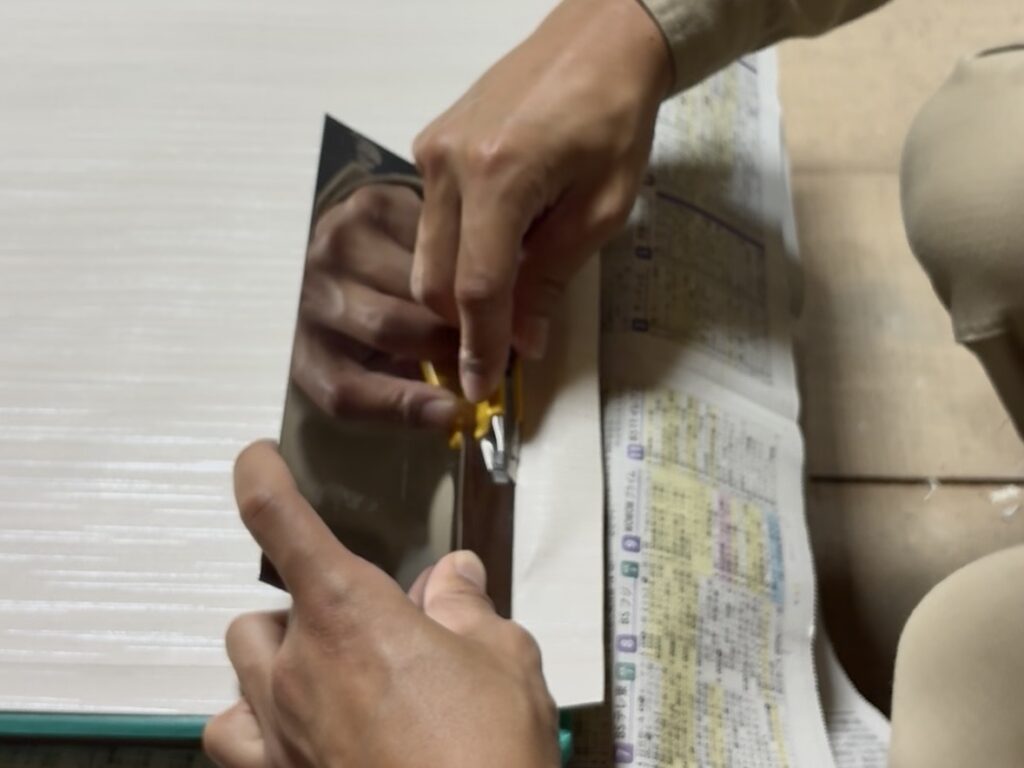
9. Trim the Excess Paper
Run the trimming guide along the wooden border and carefully cut away the overhanging paper with your cutter. Watch out for this: it’s important to place the trimming guide precisely so you don’t accidentally slice into the old layer of paper underneath.
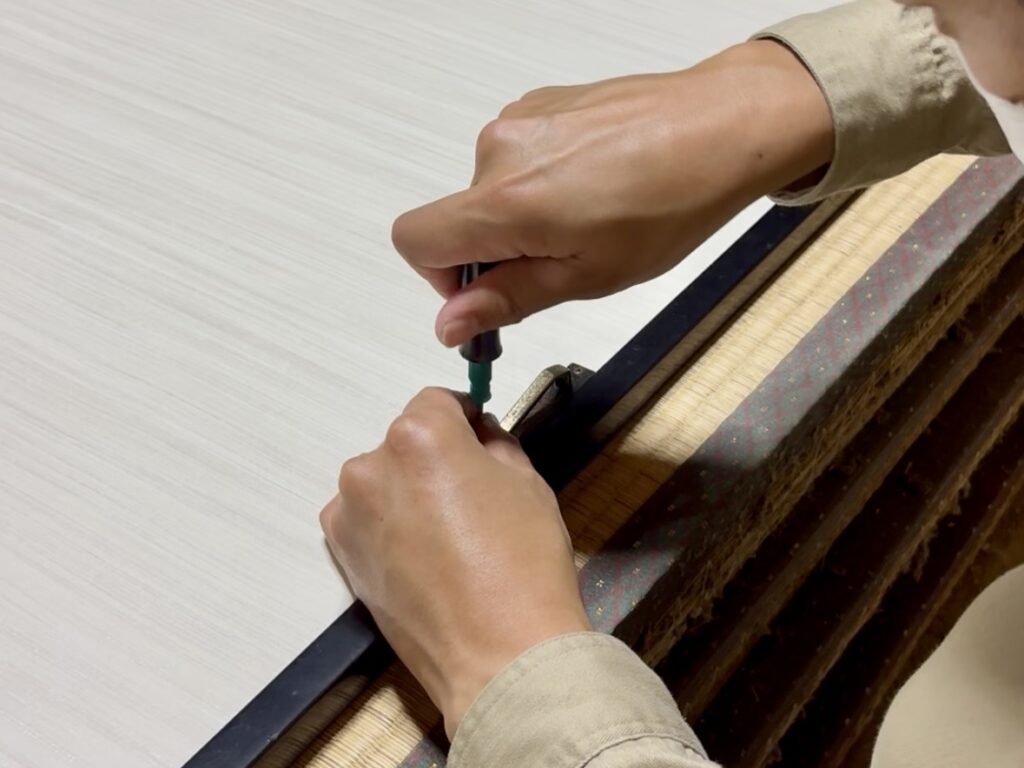
10. Reattach the Pull and Hinges
Finally, reattach the door pull and the hinges, and the job is done.
After: The Finished Fusuma
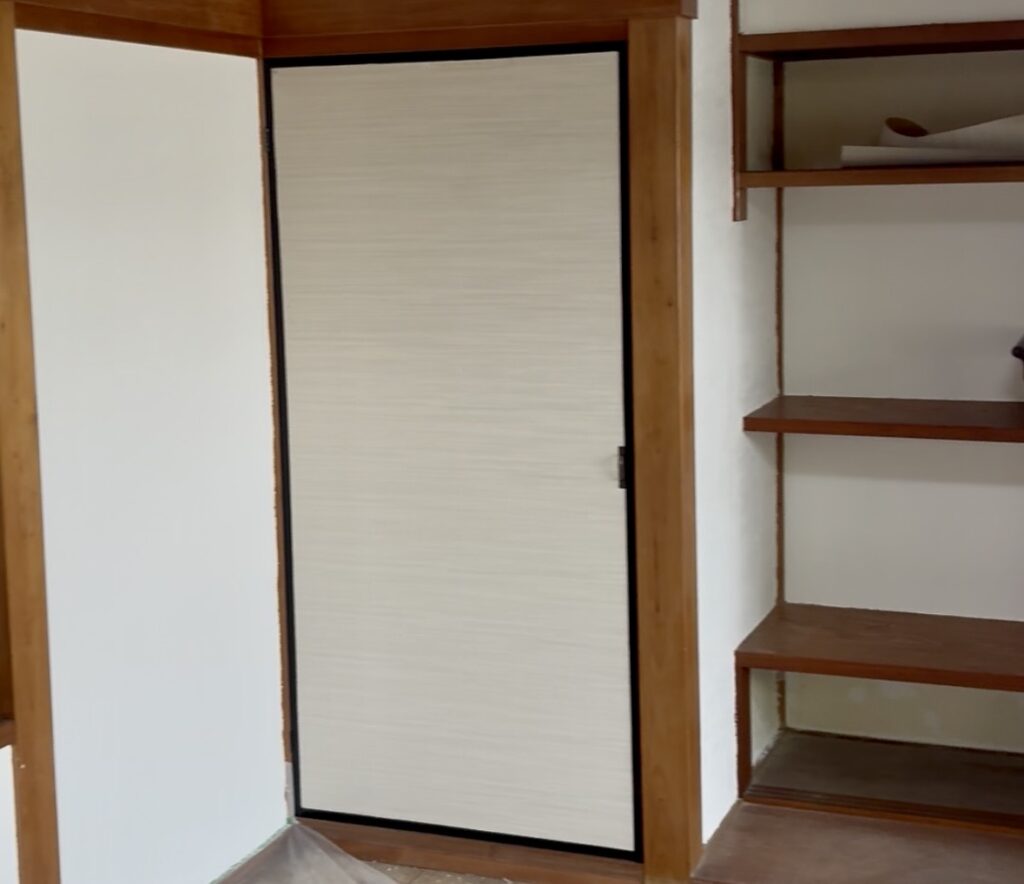
The once faded, dull fusuma now looked bright and fresh with the new paper, and the room felt noticeably brighter. Each panel took about 30 minutes — faster than I expected.
Being Honest About the Results
I thought I’d done a clean job, but a few days later, the paper started lifting and peeling at the edges.
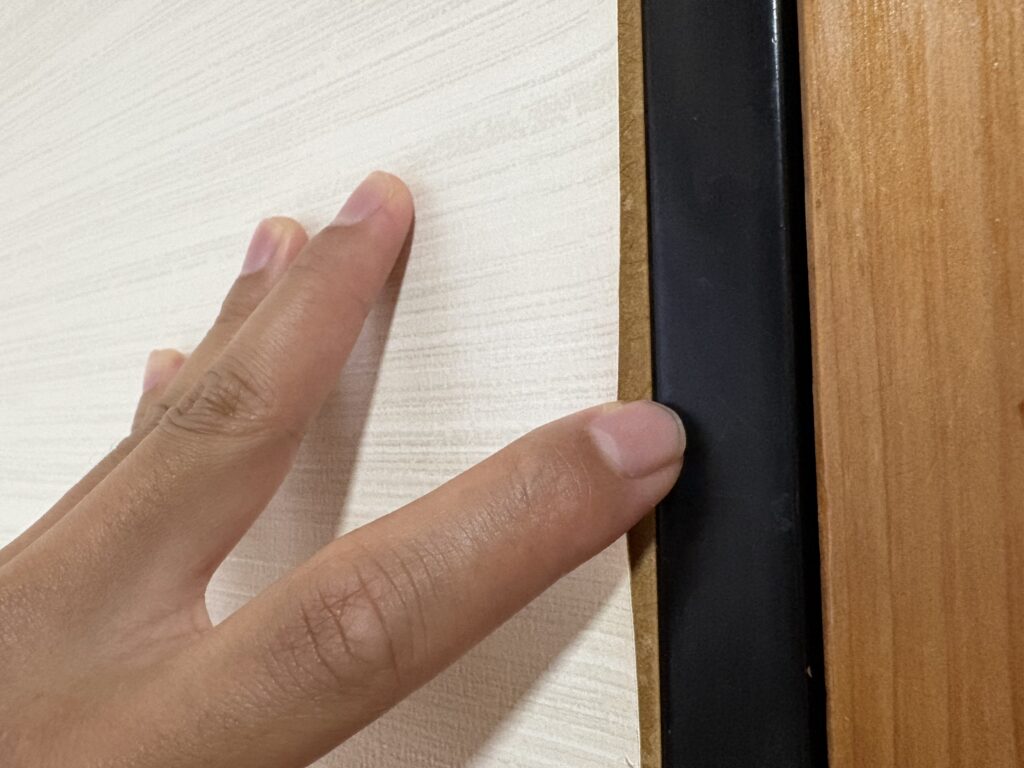
- The original fusuma paper underneath was quite old, and its surface had degraded, so it couldn’t hold the adhesive well
- Some areas simply didn’t get soaked with enough water this time
I fixed the peeling spots by re-pasting them with more water-activated glue.
This “uwabari” method is really just a quick fix. It’s a fast way to refresh the look, but depending on the condition of the layer underneath, you may run into peeling like I did.
If durability matters more to you, I’d recommend the full fukurobari method instead, which rebuilds the fusuma from its base layer. I cover that method in detail in a separate article:
▶︎ The Full “Fukurobari” Method: Restoring Torn Fusuma From the Base Layer Up
Wrap-Up
Pasting new paper directly over old fusuma paper (uwabari) is a quick way to refresh a room — about 30 minutes per panel with the right tools. Keep these points in mind to reduce the chance of failure:
- Soak the paper thoroughly with water, enough that the surface glistens slightly
- Place the trimming guide precisely so you don’t cut into the layer underneath
- Depending on the condition underneath, the paper may not adhere well
If you want long-lasting results, consider the fukurobari method instead — but if you just want a quick, low-effort refresh, this is well worth trying. I’ve listed all the tools I used below.
▶︎ Tools used for this fusuma uwabari project
Affiliate disclosure: This post contains affiliate links.